
Before your booking.

1. Complete the makerspace induction.
The use of the vacuum former is covered in the formative manufacture training, but it is not compulsory in order to use the machine.
Users must have completed the general makerspace induction in order to gain access to the vacuum former.
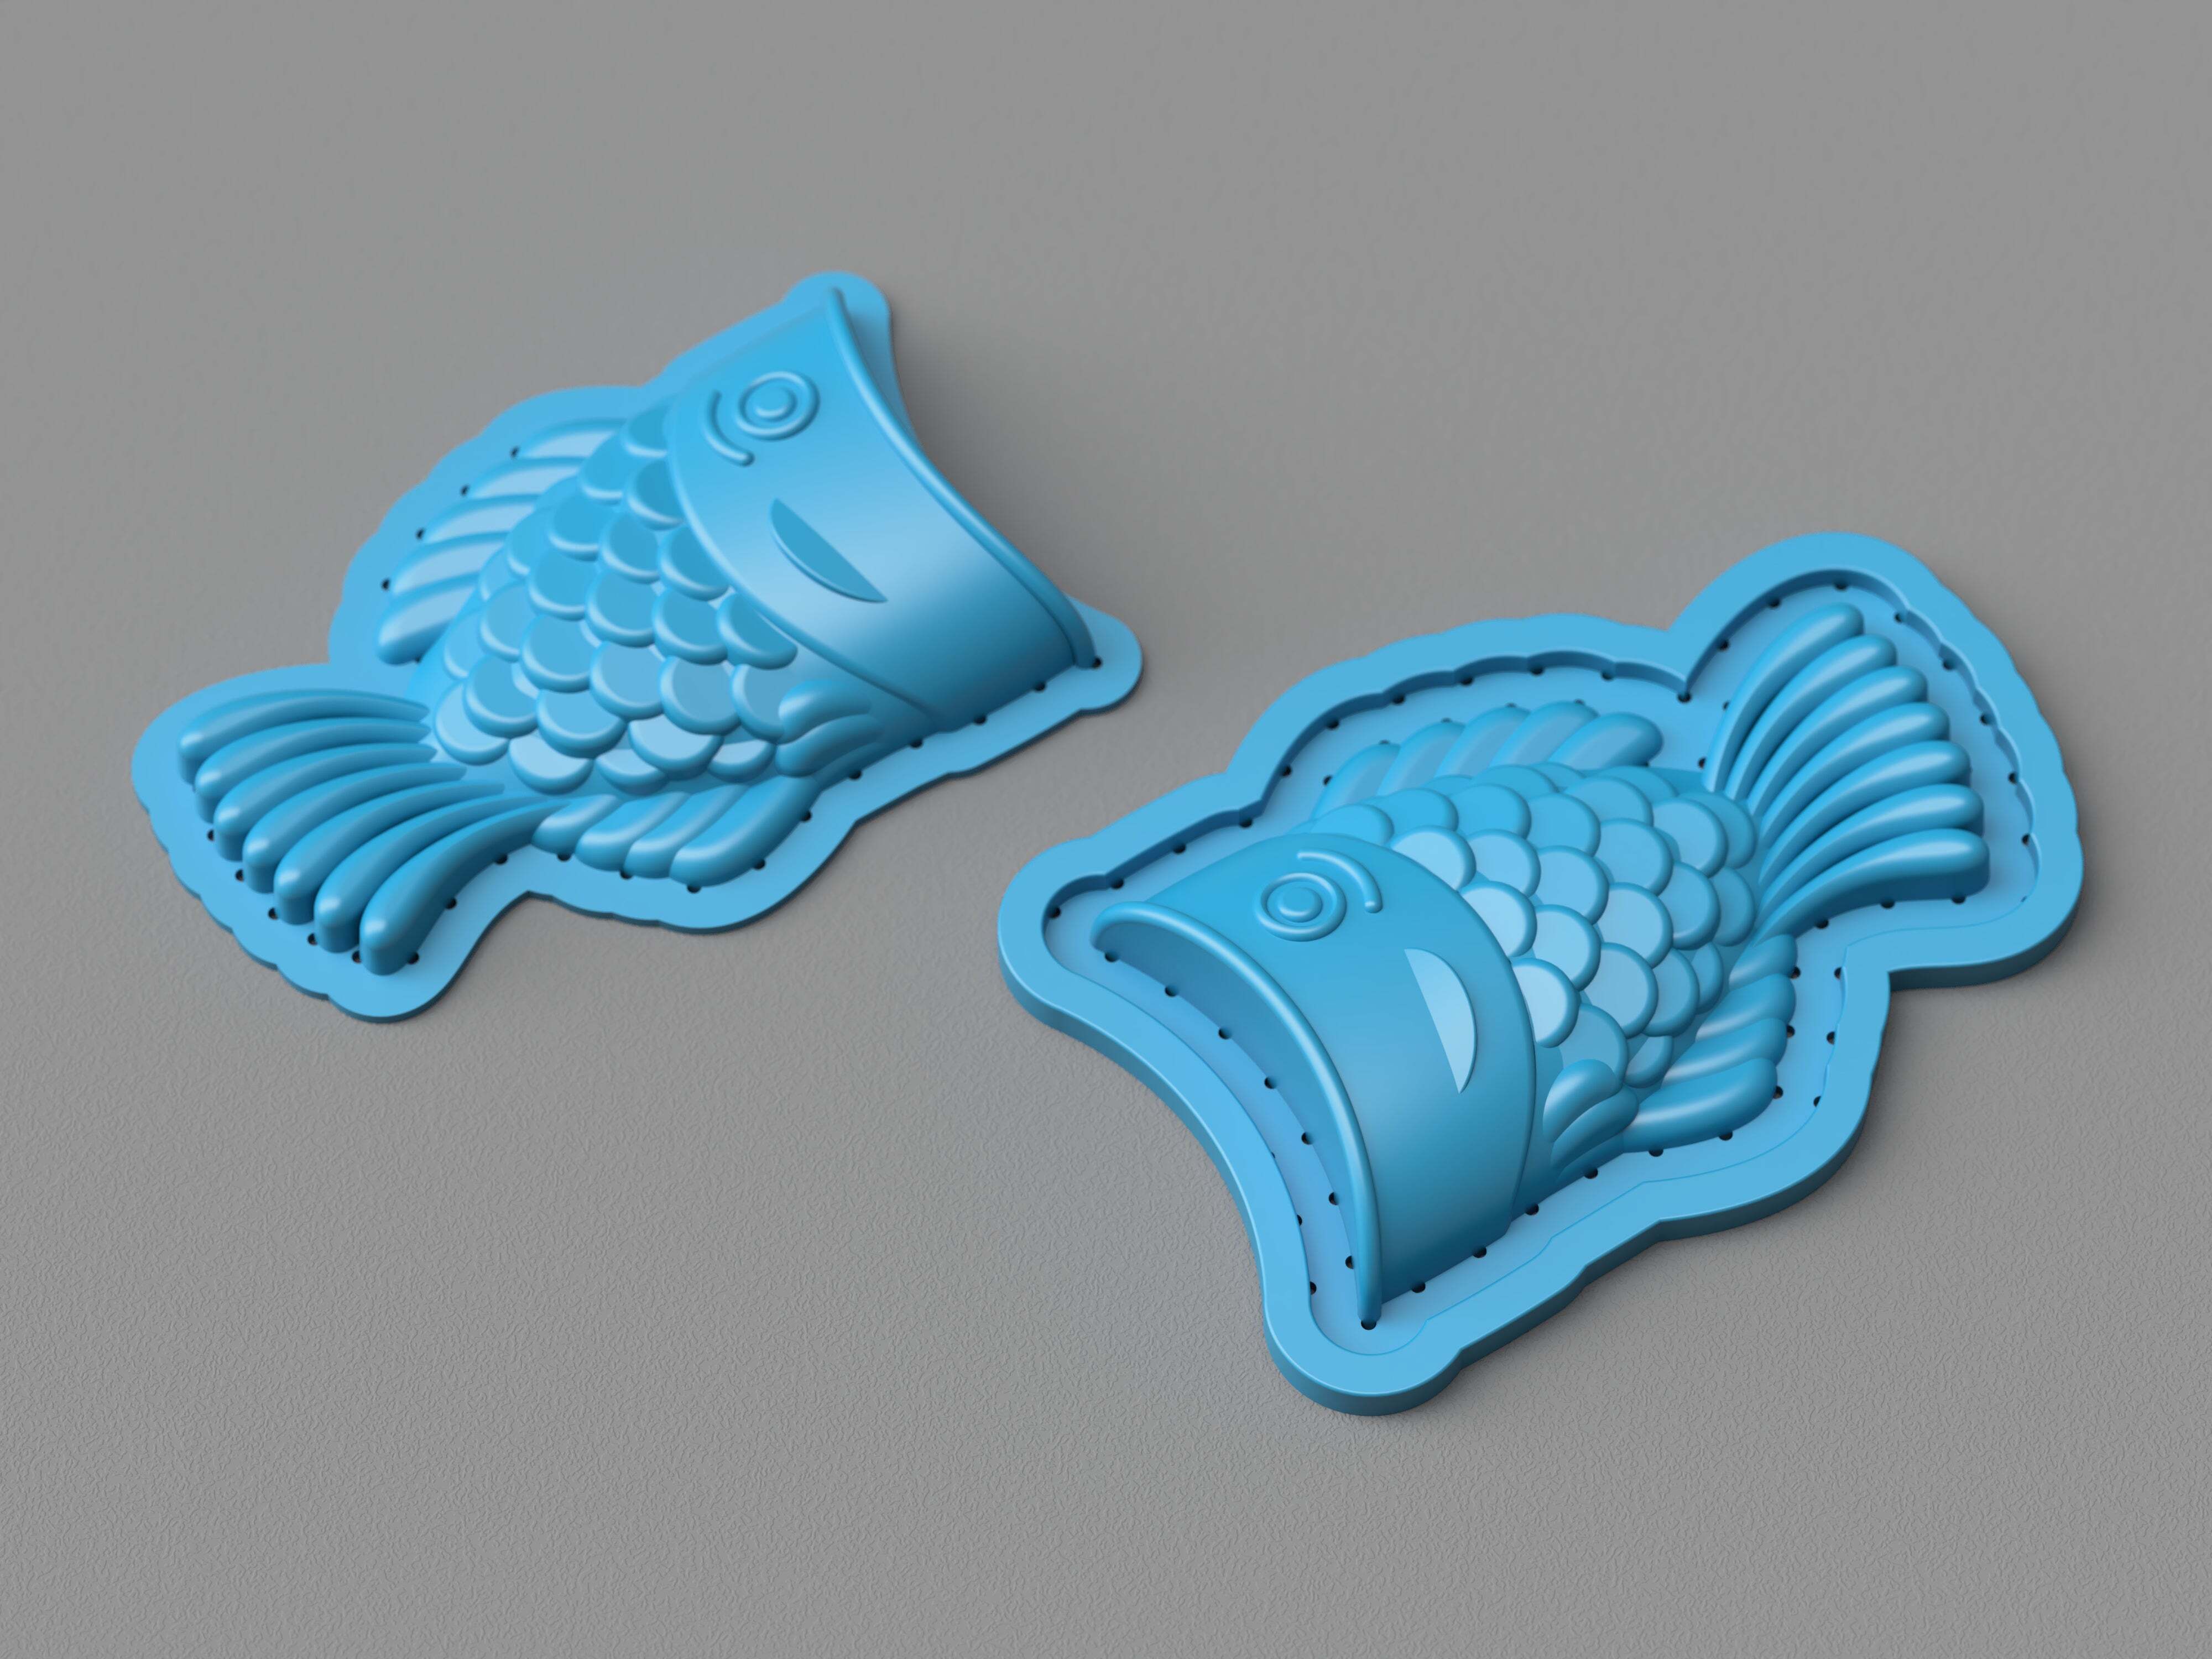
2. Source your object for vacuum forming.
The object must fit within the forming bed. The forming bed has maximum dimensions 200 x 200 x 130mm.
See the introduction to vacuum forming knowledge base page for considerations when designing models for vacuum forming.

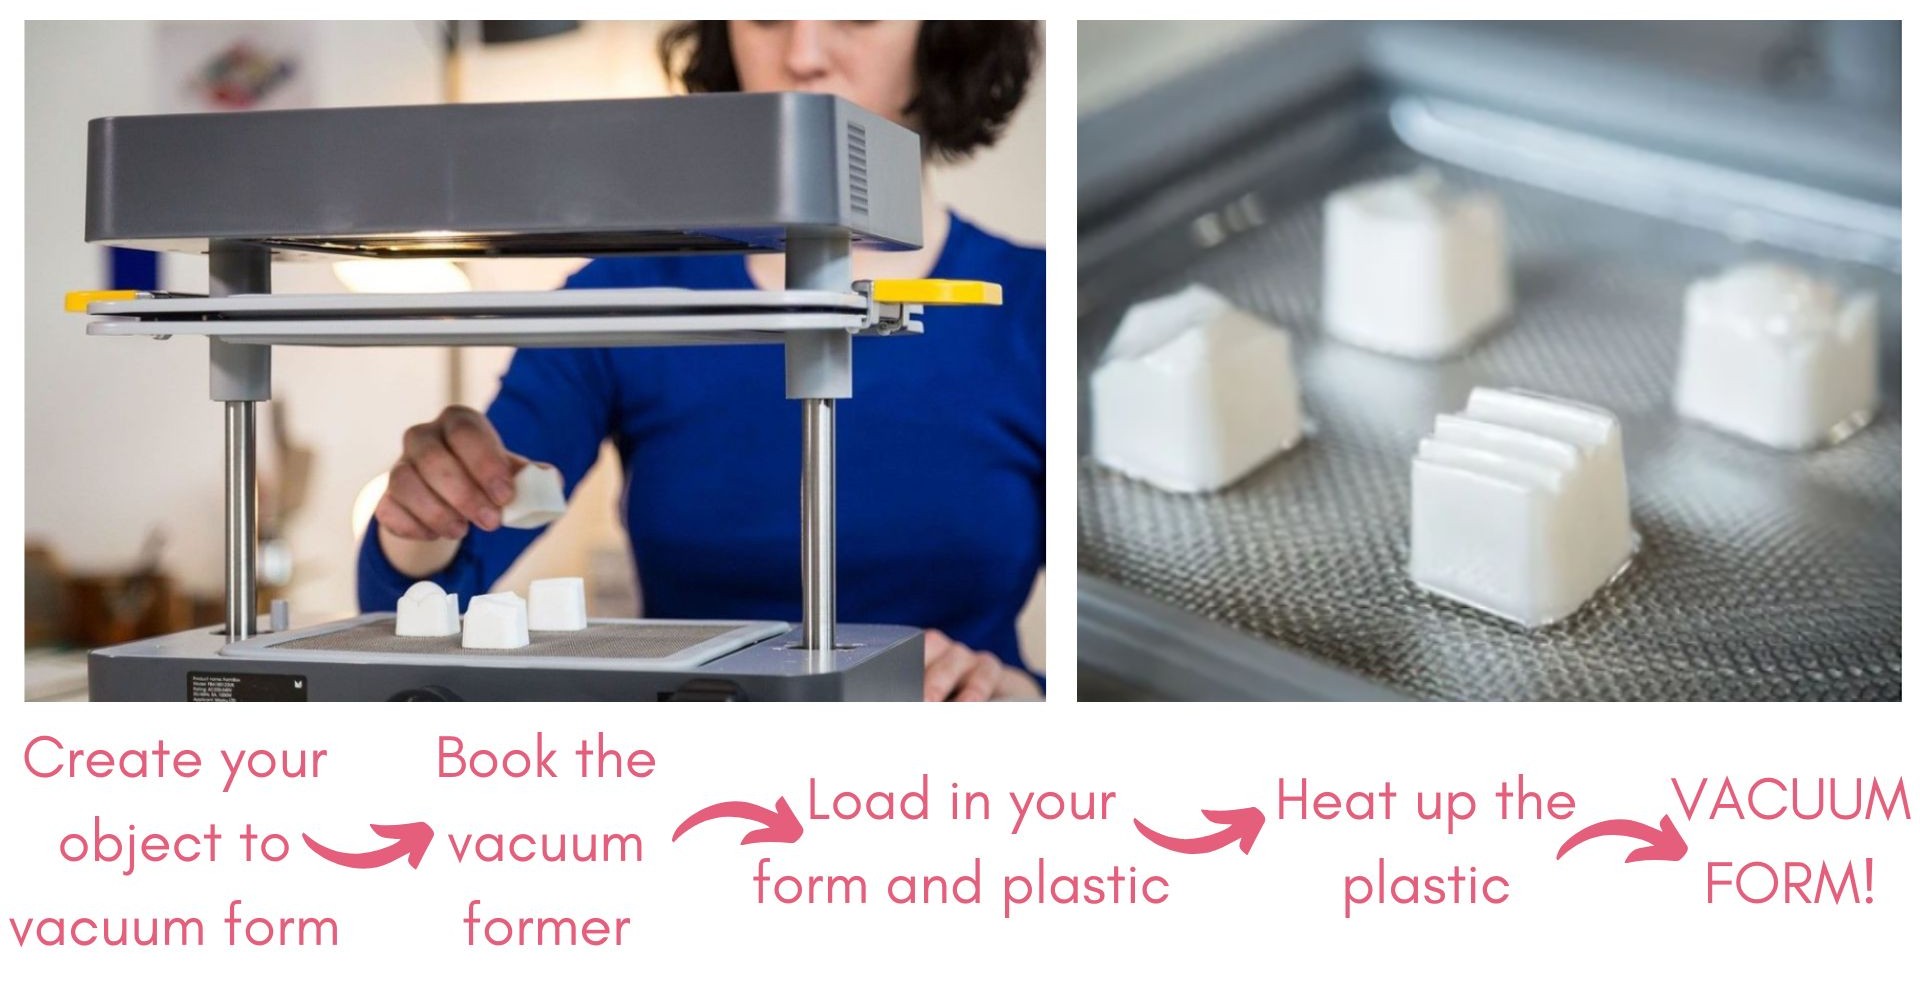
3. Book the vacuum former.
In order to use the vacuum former, you must make a booking.
Setting up the vacuum former.
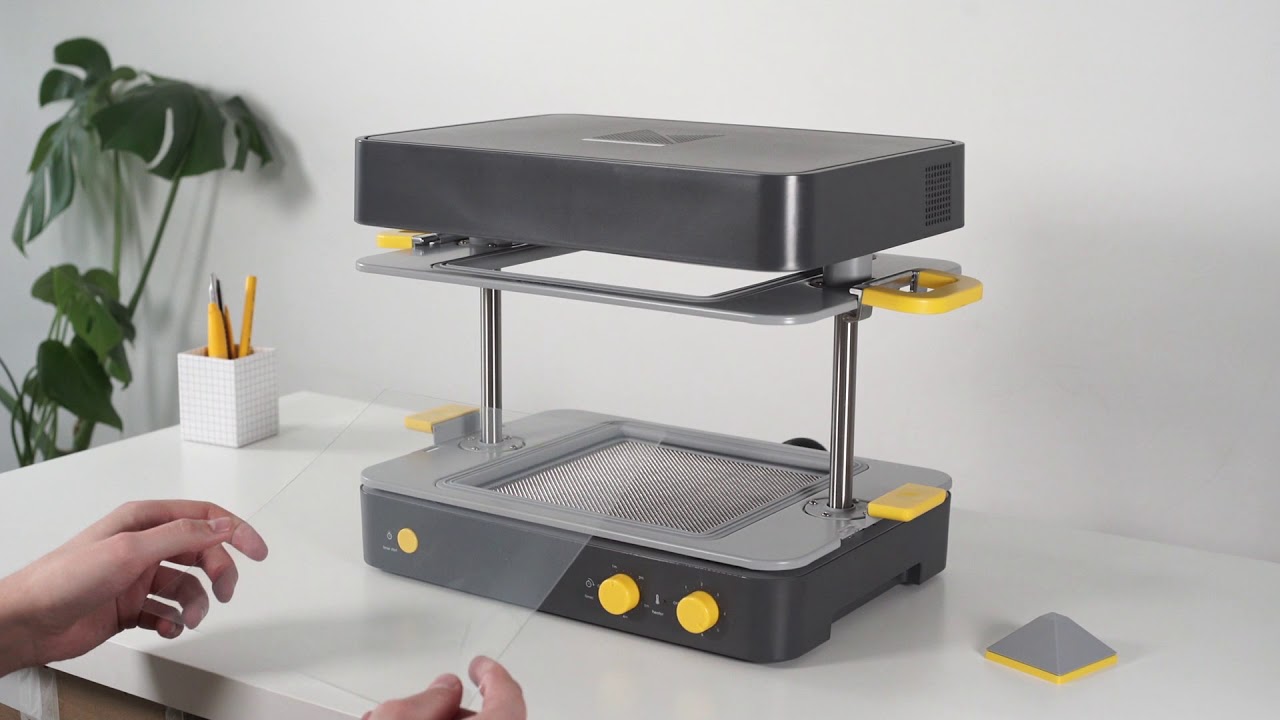
4. Peel off the protective film from the sheet and place it into the vacuum former.
Place the sheet on the seals of the bottom tray. Line up the edges of the sheet to the edges of the seals.
It is recommended to also use the heat guard provided.
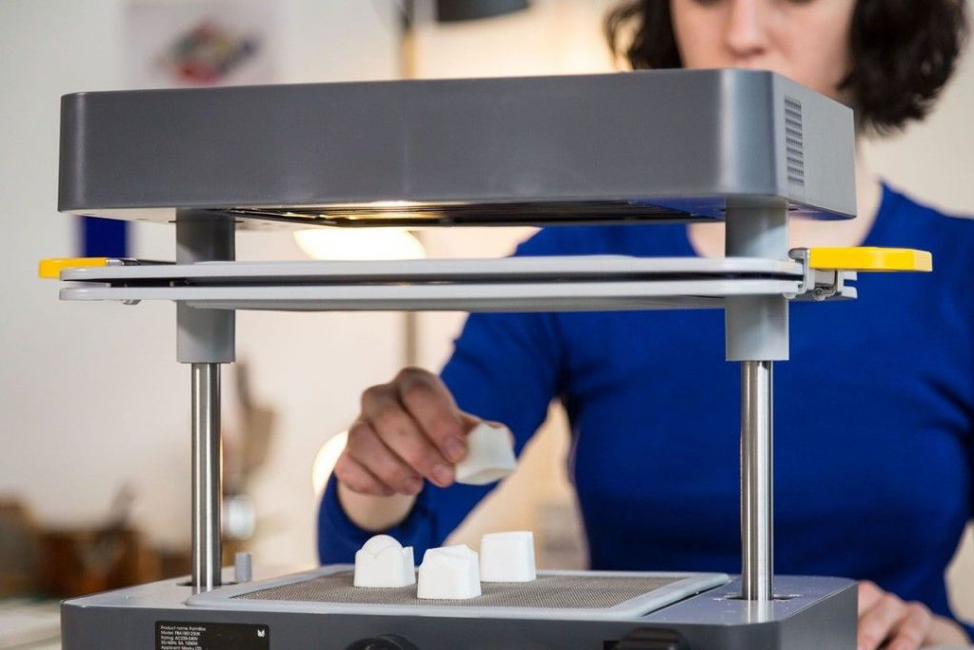
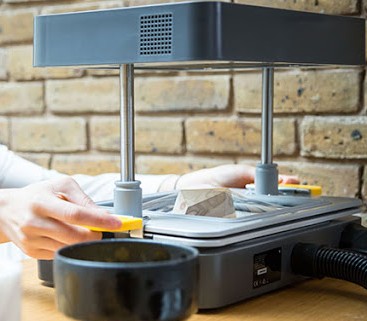
5. Place your object onto the vacuum forming bed.
Leave plenty of space between multiple objects on the forming bed to maximise the chance of a successful form.
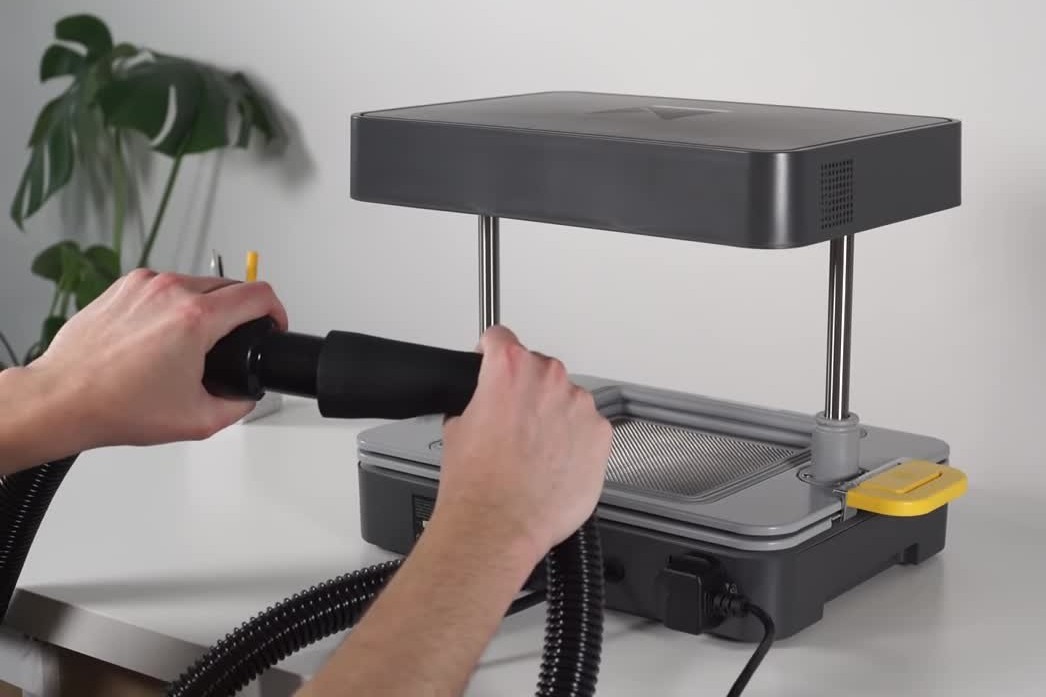
6. Plug in the vacuum into the back of the vacuum former.
The Henry Hoover vacuum cleaner is used to provide the suction for the Mayku vacuum former. This is plugged into the machine via a tube at the back.
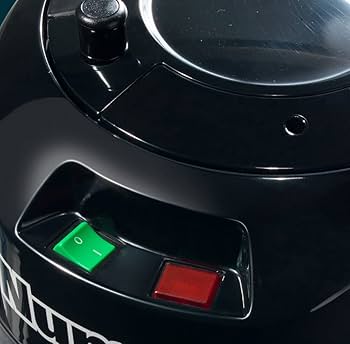
7. Turn on the vacuum former and vacuum.
The Henry hoover must be turned on in order for the vacuum form to be successful. If the hoover is turned on and plugged into the Mayku, it will only start up once the heated plastic sheet is pushed over the mould to be formed.
Vacuum forming.
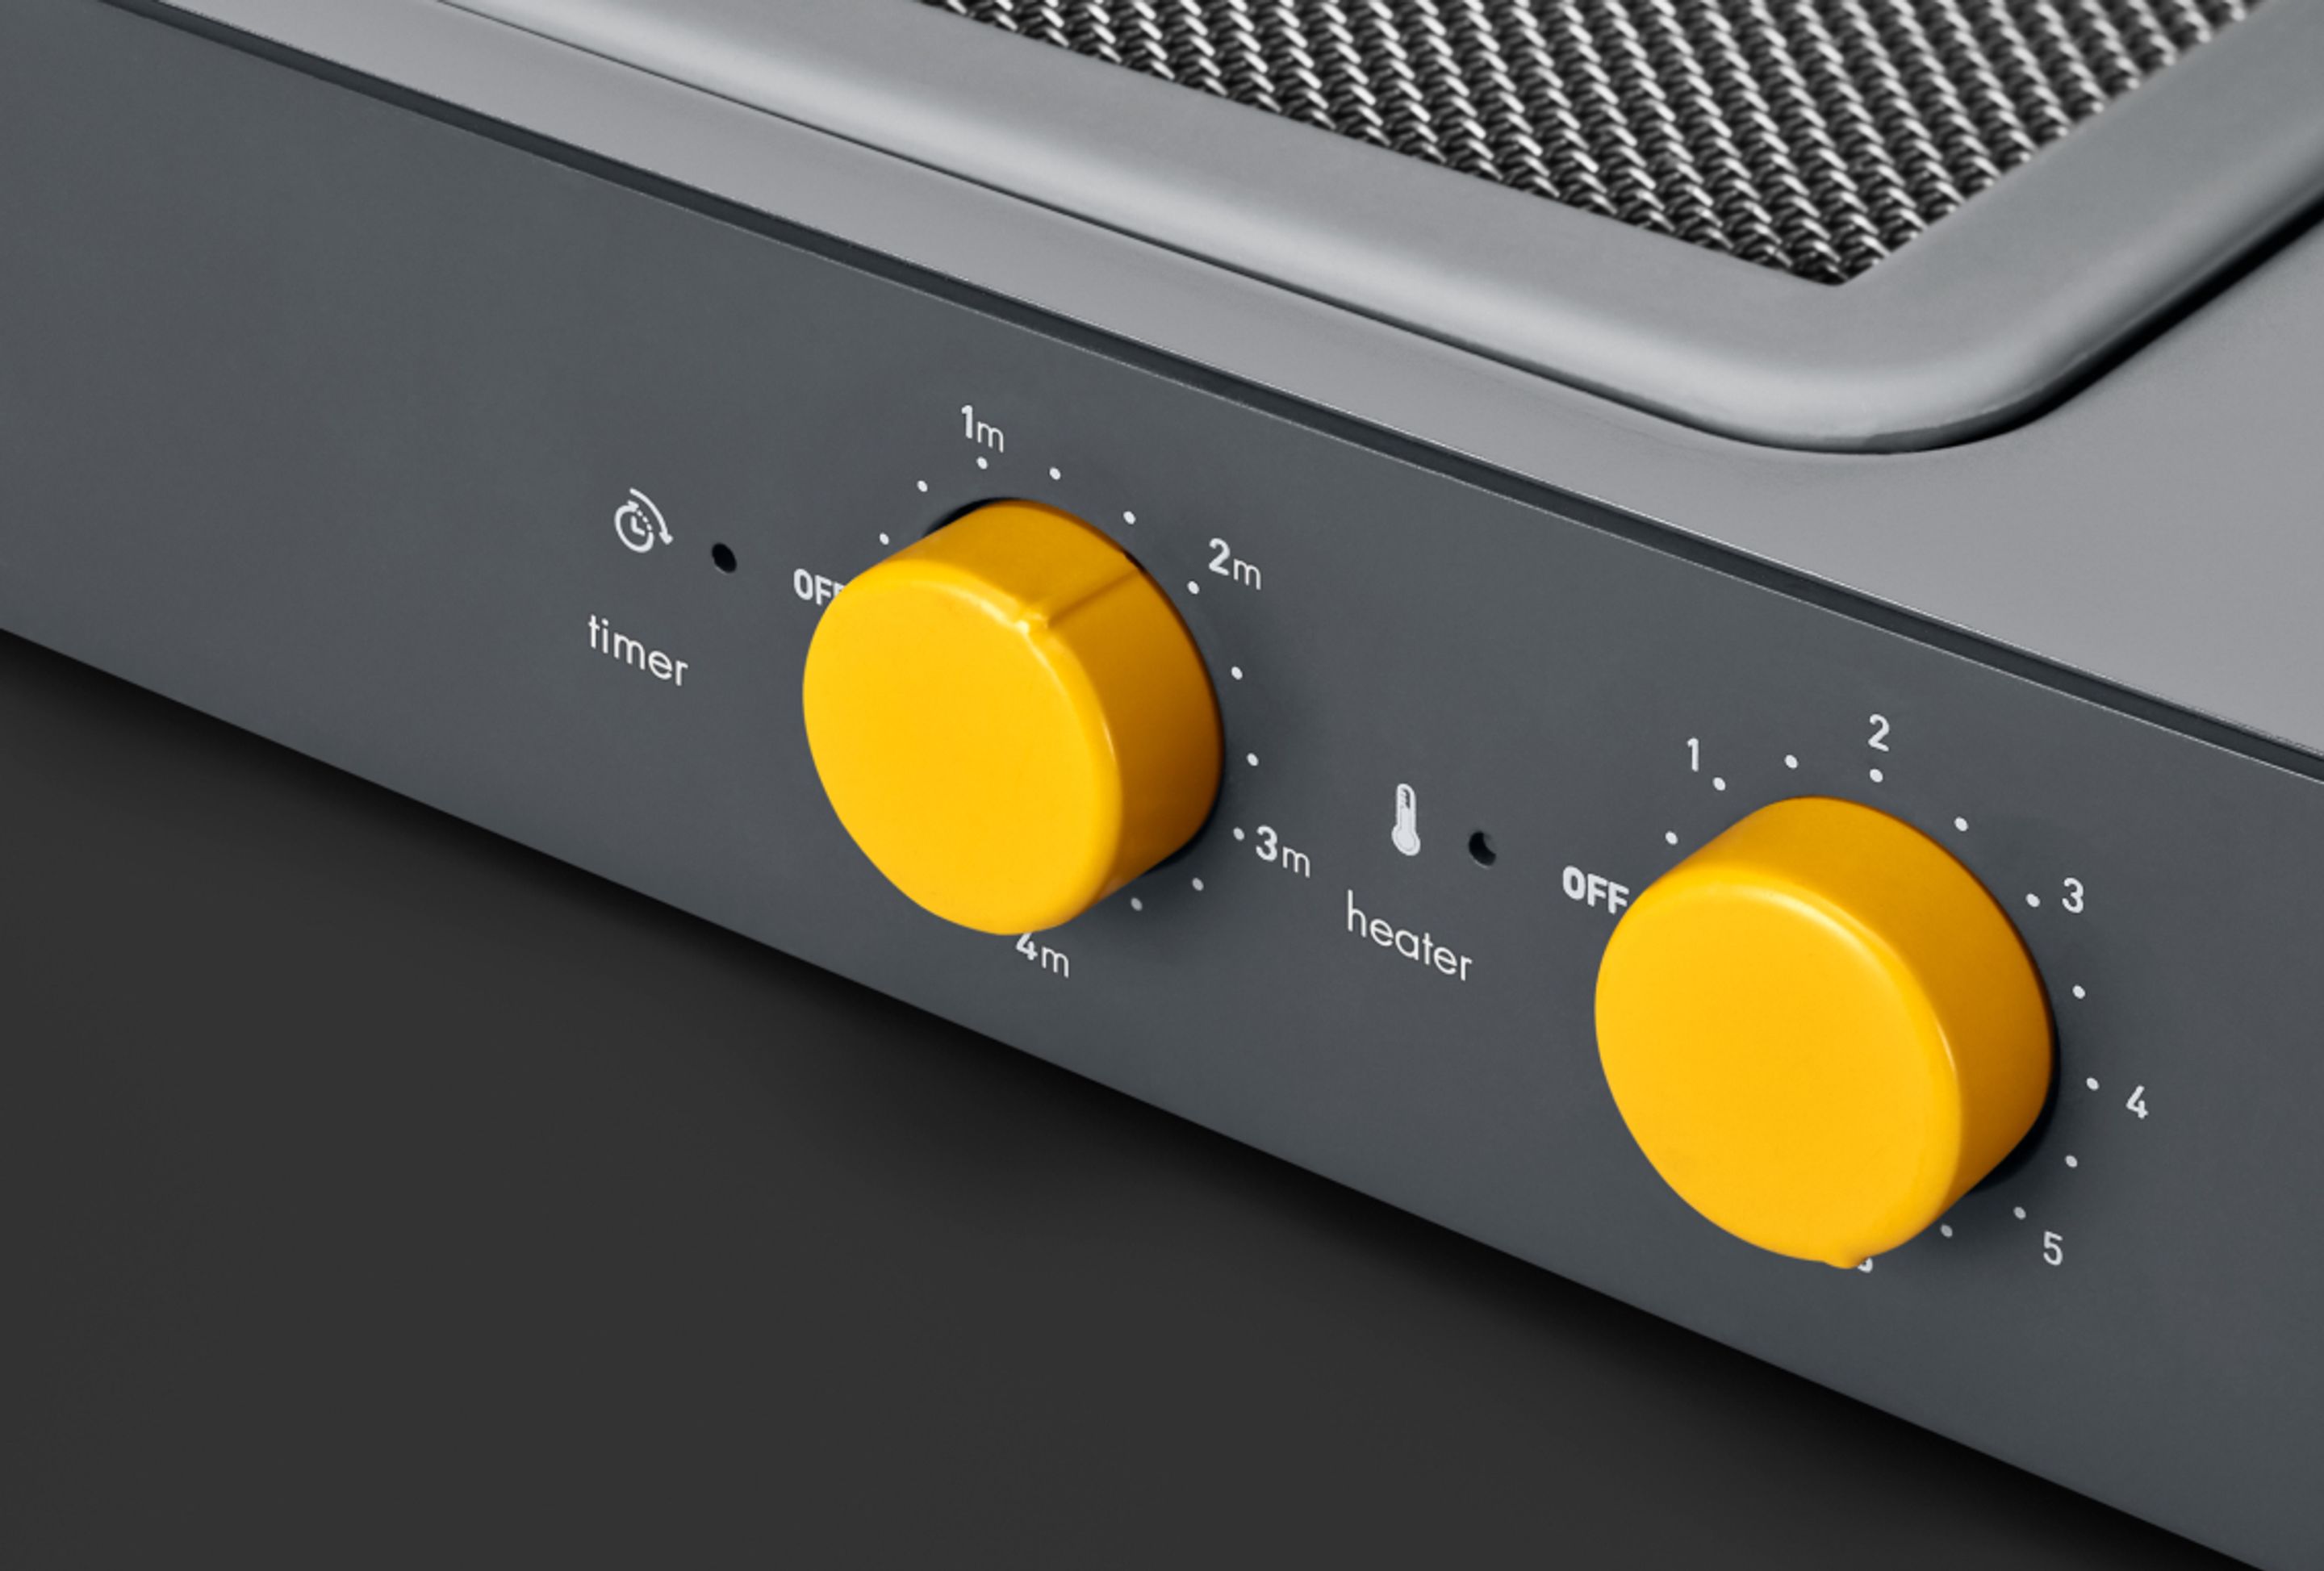
8. Set the time and temperature to heat up the plastic sheet and press start.
It is recommended to also set a secondary timer.
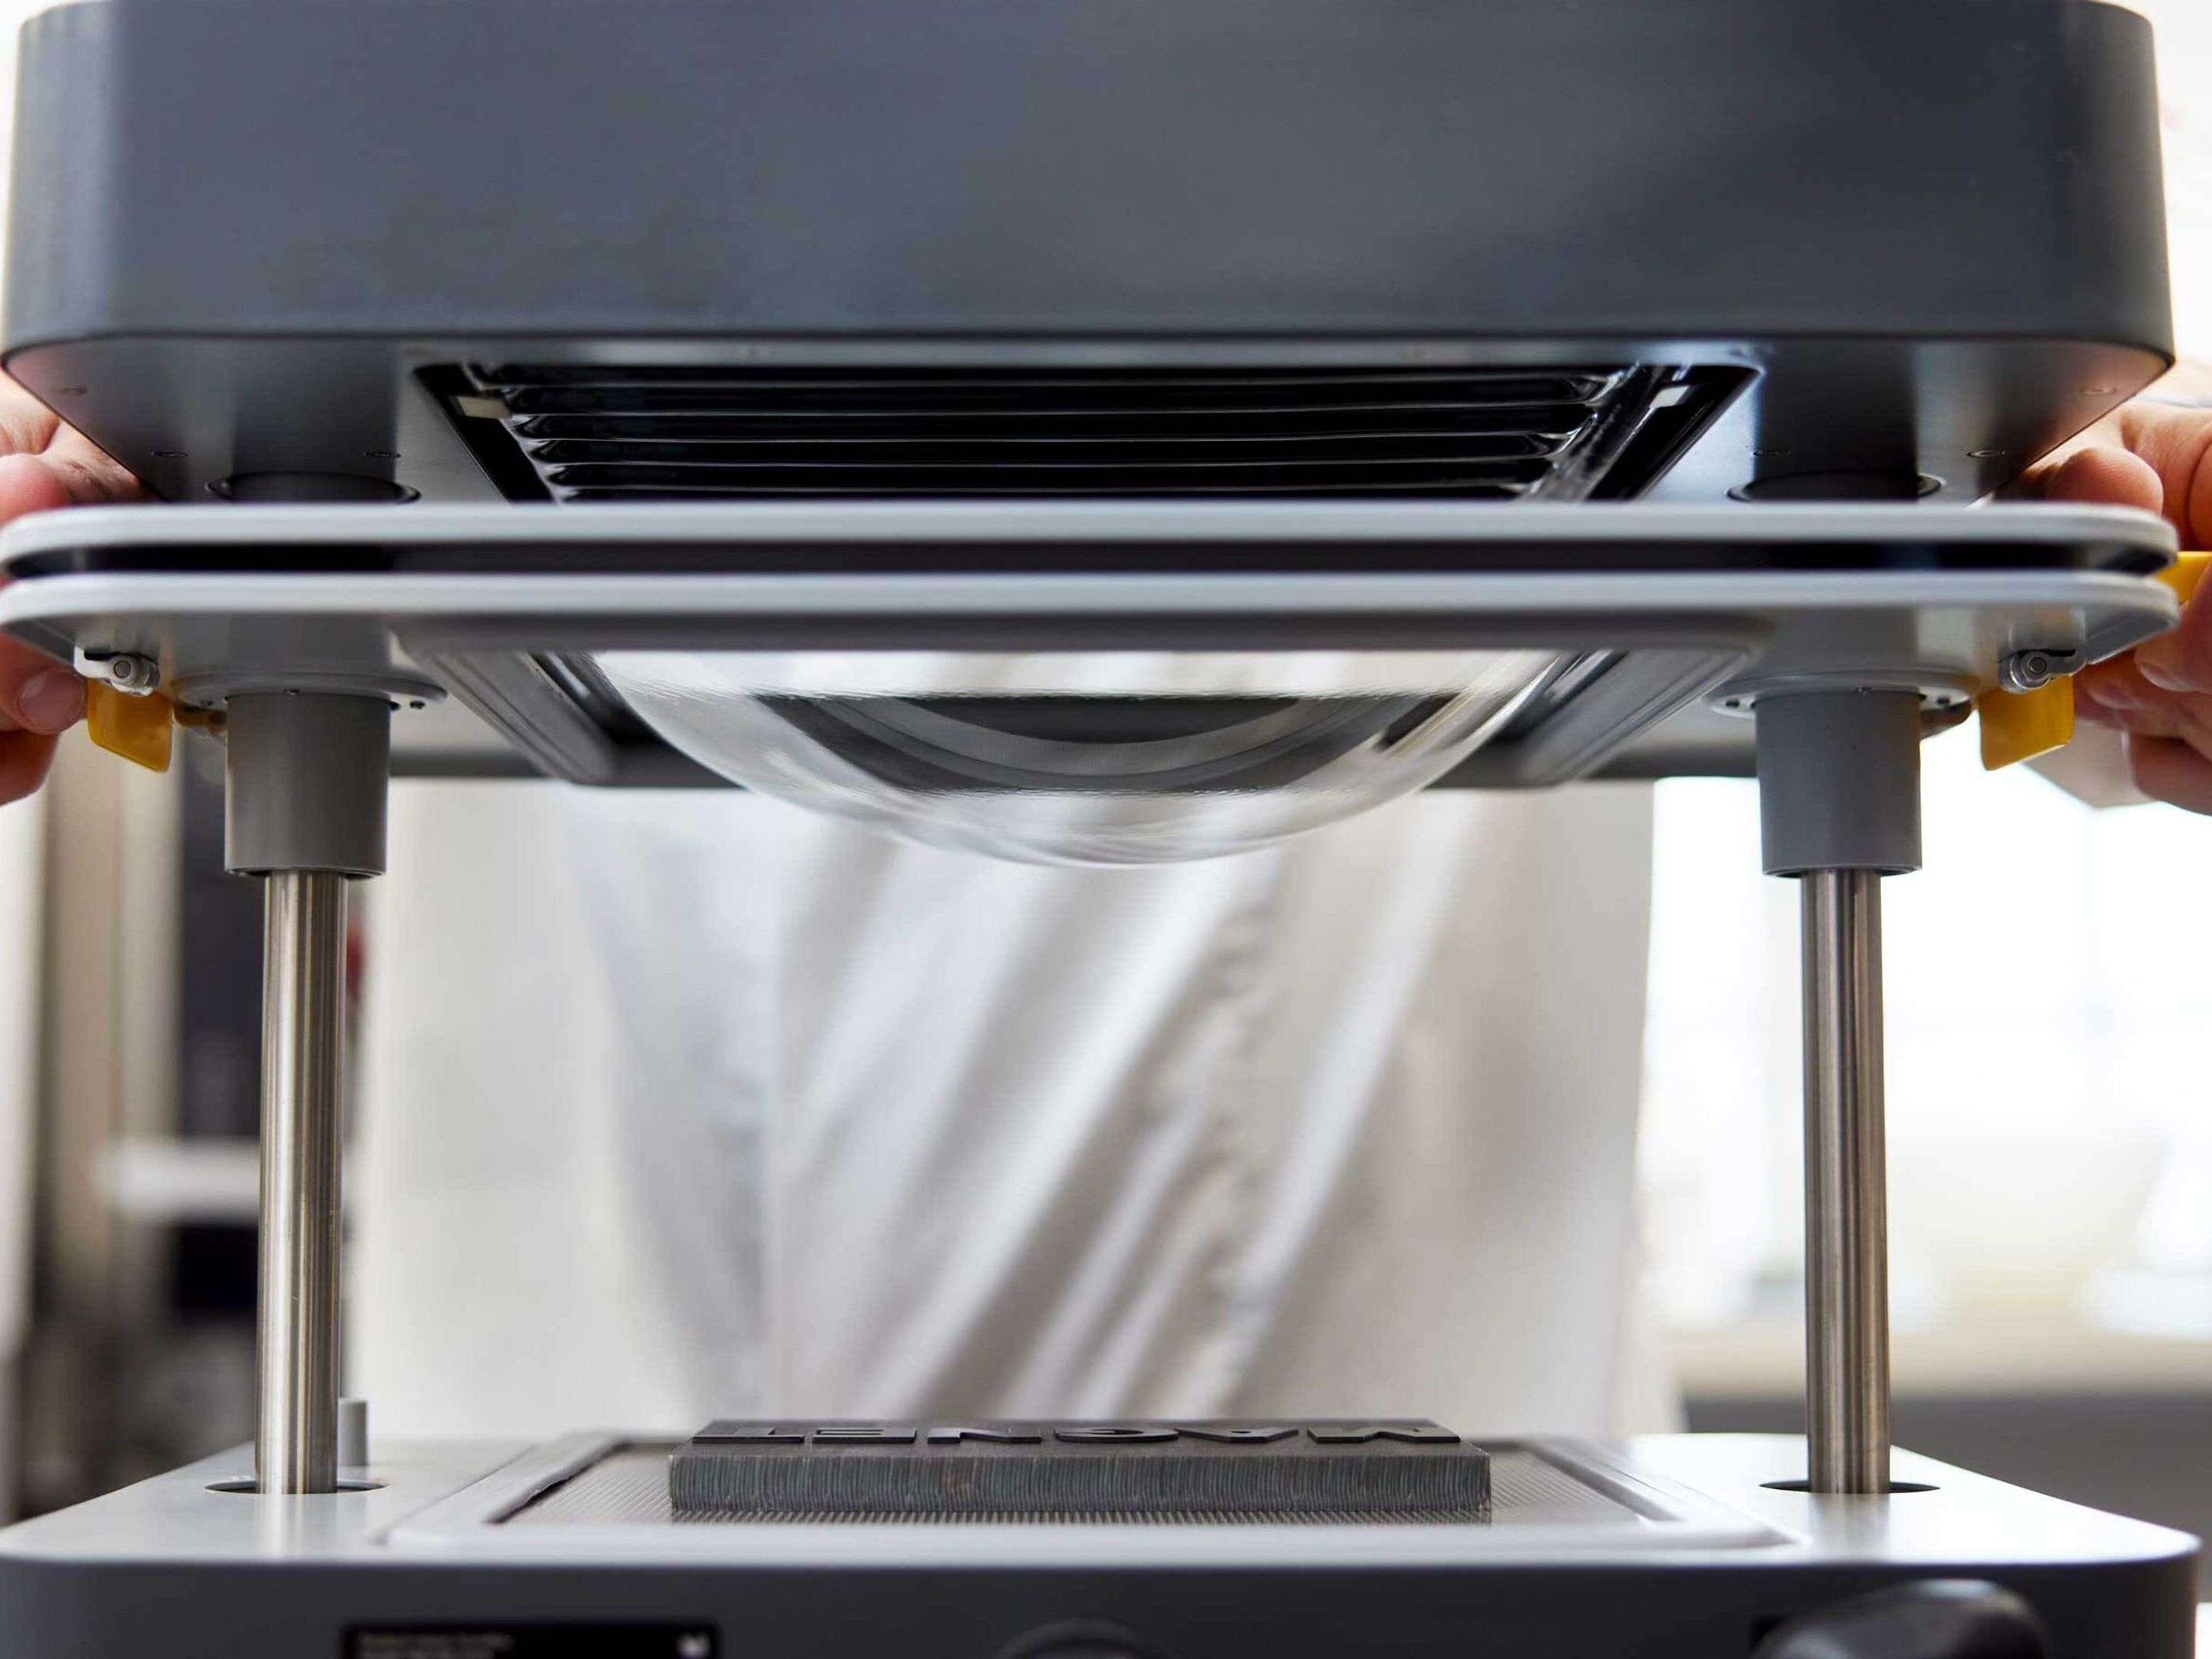
9. Wait for the plastic to be soft and droop in the middle.
Users must stay with the machine while it is heating the plastic. You want the plastic to be soft, drooping in the middle with a few crinkles forming at the sides.
10. Pull the plastic sheet down over your form.
The vacuum will automatically come on, as long as it is turned on.

11. Turn off the heater, wait for the plastic to cool and remove your form from the mould.
Leaving your form to cool for a few minutes gives the plastic time to harden and reduces the risk of warping your form.