Introduction
Cura is the slicer software for Ultimaker printers which allows you to manipulate your model and adjust print parameters. You can follow this guide to download and install Cura to your computer.
Step 1: Go to https://ultimaker.com/software/ultimaker-cura and click on ![]() button, select your operating system to start the download.
button, select your operating system to start the download.
Step 2: When the download is complete, double click on the *.msi file to start the installation. It will ask which file types you want to open with Cura, tick every box.
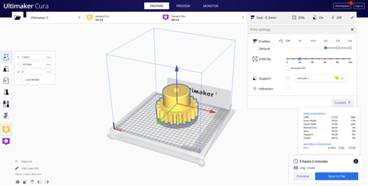
Step 3: Launch the application by clicking on the shortcut on the desktop.

Step 4: If you have no previous instance of Cura on your computer, it will ask you to select which printers you want to add, we have Ultimaker 3, 2+ and 2go in the studio, so add those.

Step 5: To add a printer, click on Add button in the pop up window. This will open another window in which you can select a printer among many different printers. Simply select the printer you want to add, and click on Add button. You can remove a printer using the same menu.
Step 6: Install the Settings Guide plugin, as shown in GIF below.
'Animated Gif Here'