

Before your booking.
1. Complete the makerspace induction and 3D printing training.
We recommend the 3D printing training to all users who have either never 3D printed before or never used an Ultimaker printer before, however, it is not compulsory.
2. Source your STL file.
There are multiple ways you can source a file for 3D printing, through 3D scanning, CAD modelling or downloading a model online.

3. Slice your STL file in Cura and save the gcode file on a memory stick.
Slicing your file for printing in Cura will tell you how long your print is going to take. This is important to know when booking the 3D printer.
For guidance on slicing using Cura, please either see here or attend our 3D printing training.
4. Make a 3D printer booking.
In order to use the 3D printers, you must make a booking. We recommend booking a printer for slightly longer than your print will take. For example, if your print is 5 hours long, book 5.5 to 6 hours.
Loading in your material.
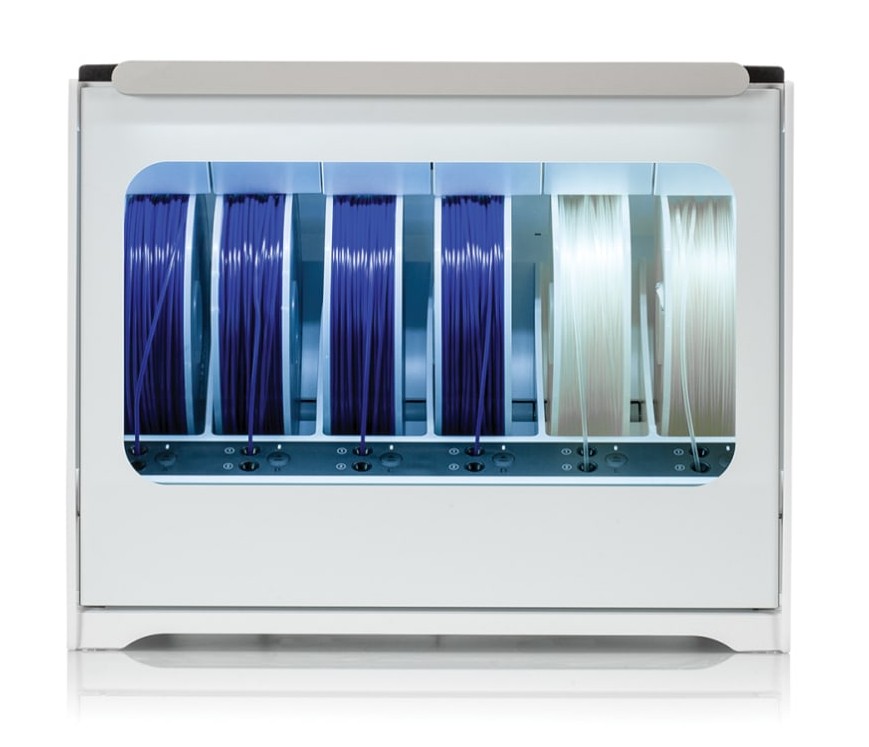
5. Find your 2.85mm material and place it in an empty slot of the Materials Station.
Ultimaker printers take 2.85mm filament only. This material can be found on the filament shelves underneath the Bambu Lab 3D printers.
Do NOT load 1.75mm filament into the Ultimaker printers.

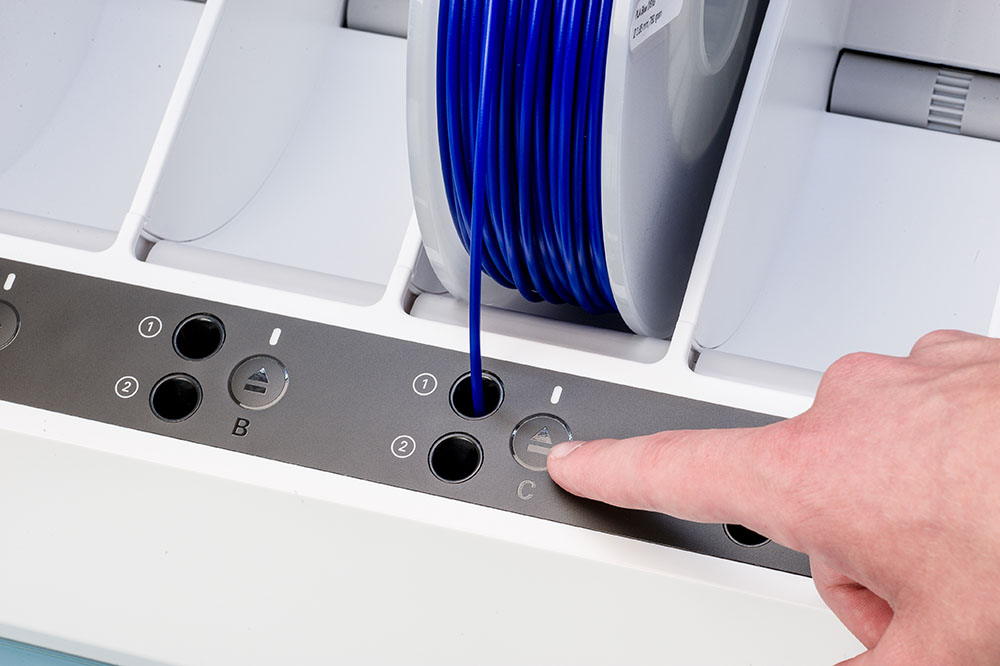
6. Feed the filament into the feeder and close the Materials Station.
Load the filament into slot 1 or 2, depending on which nozzle you are using.
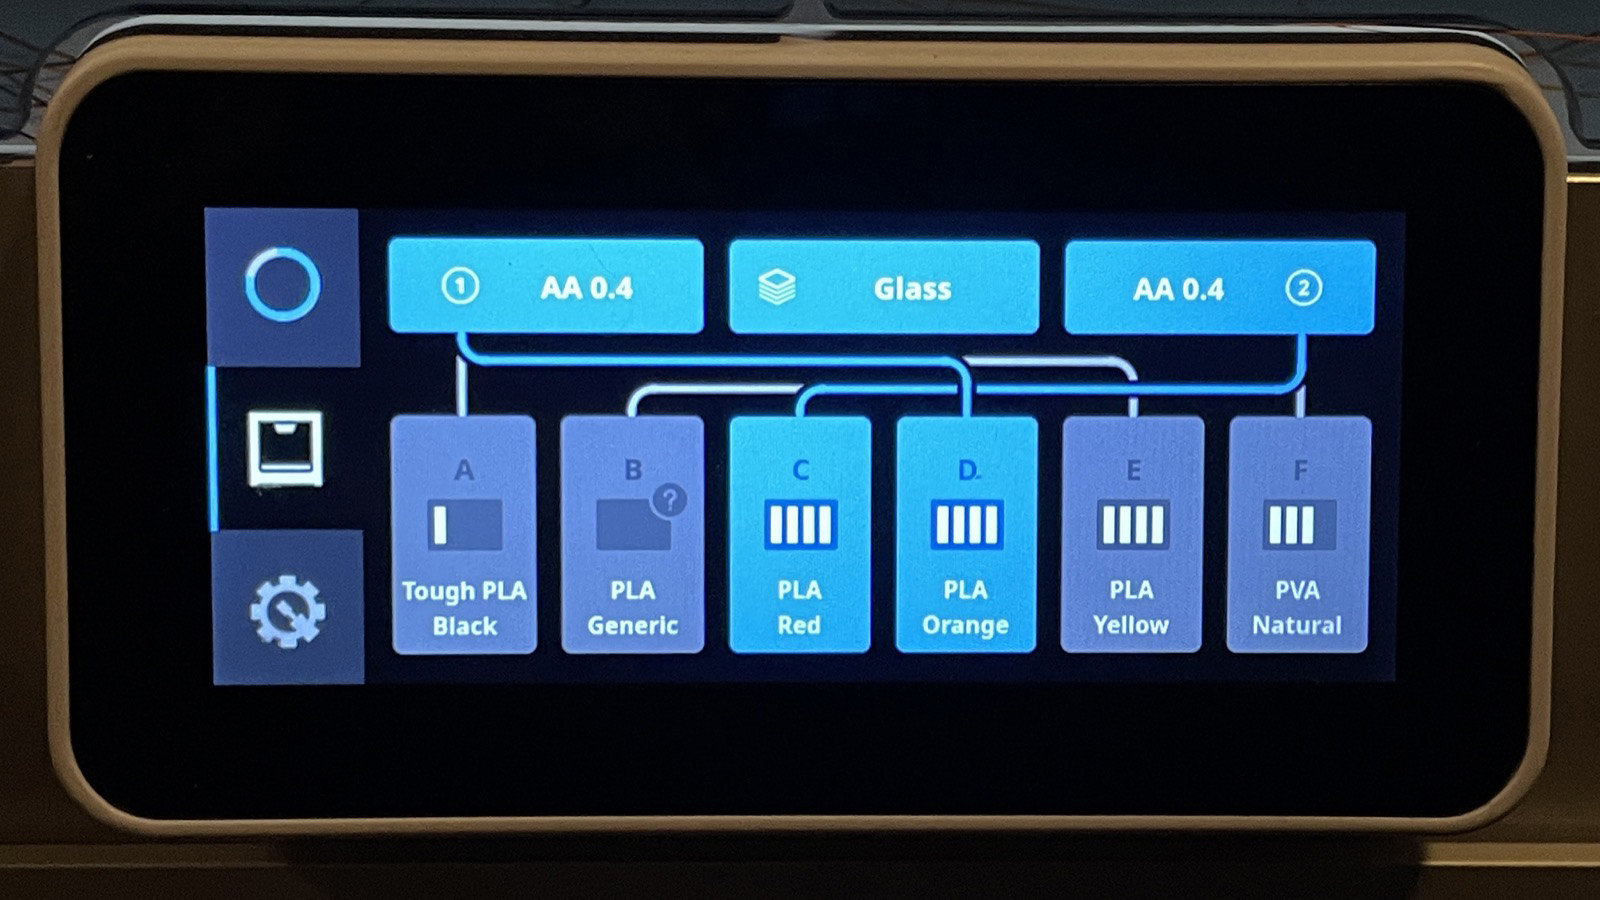
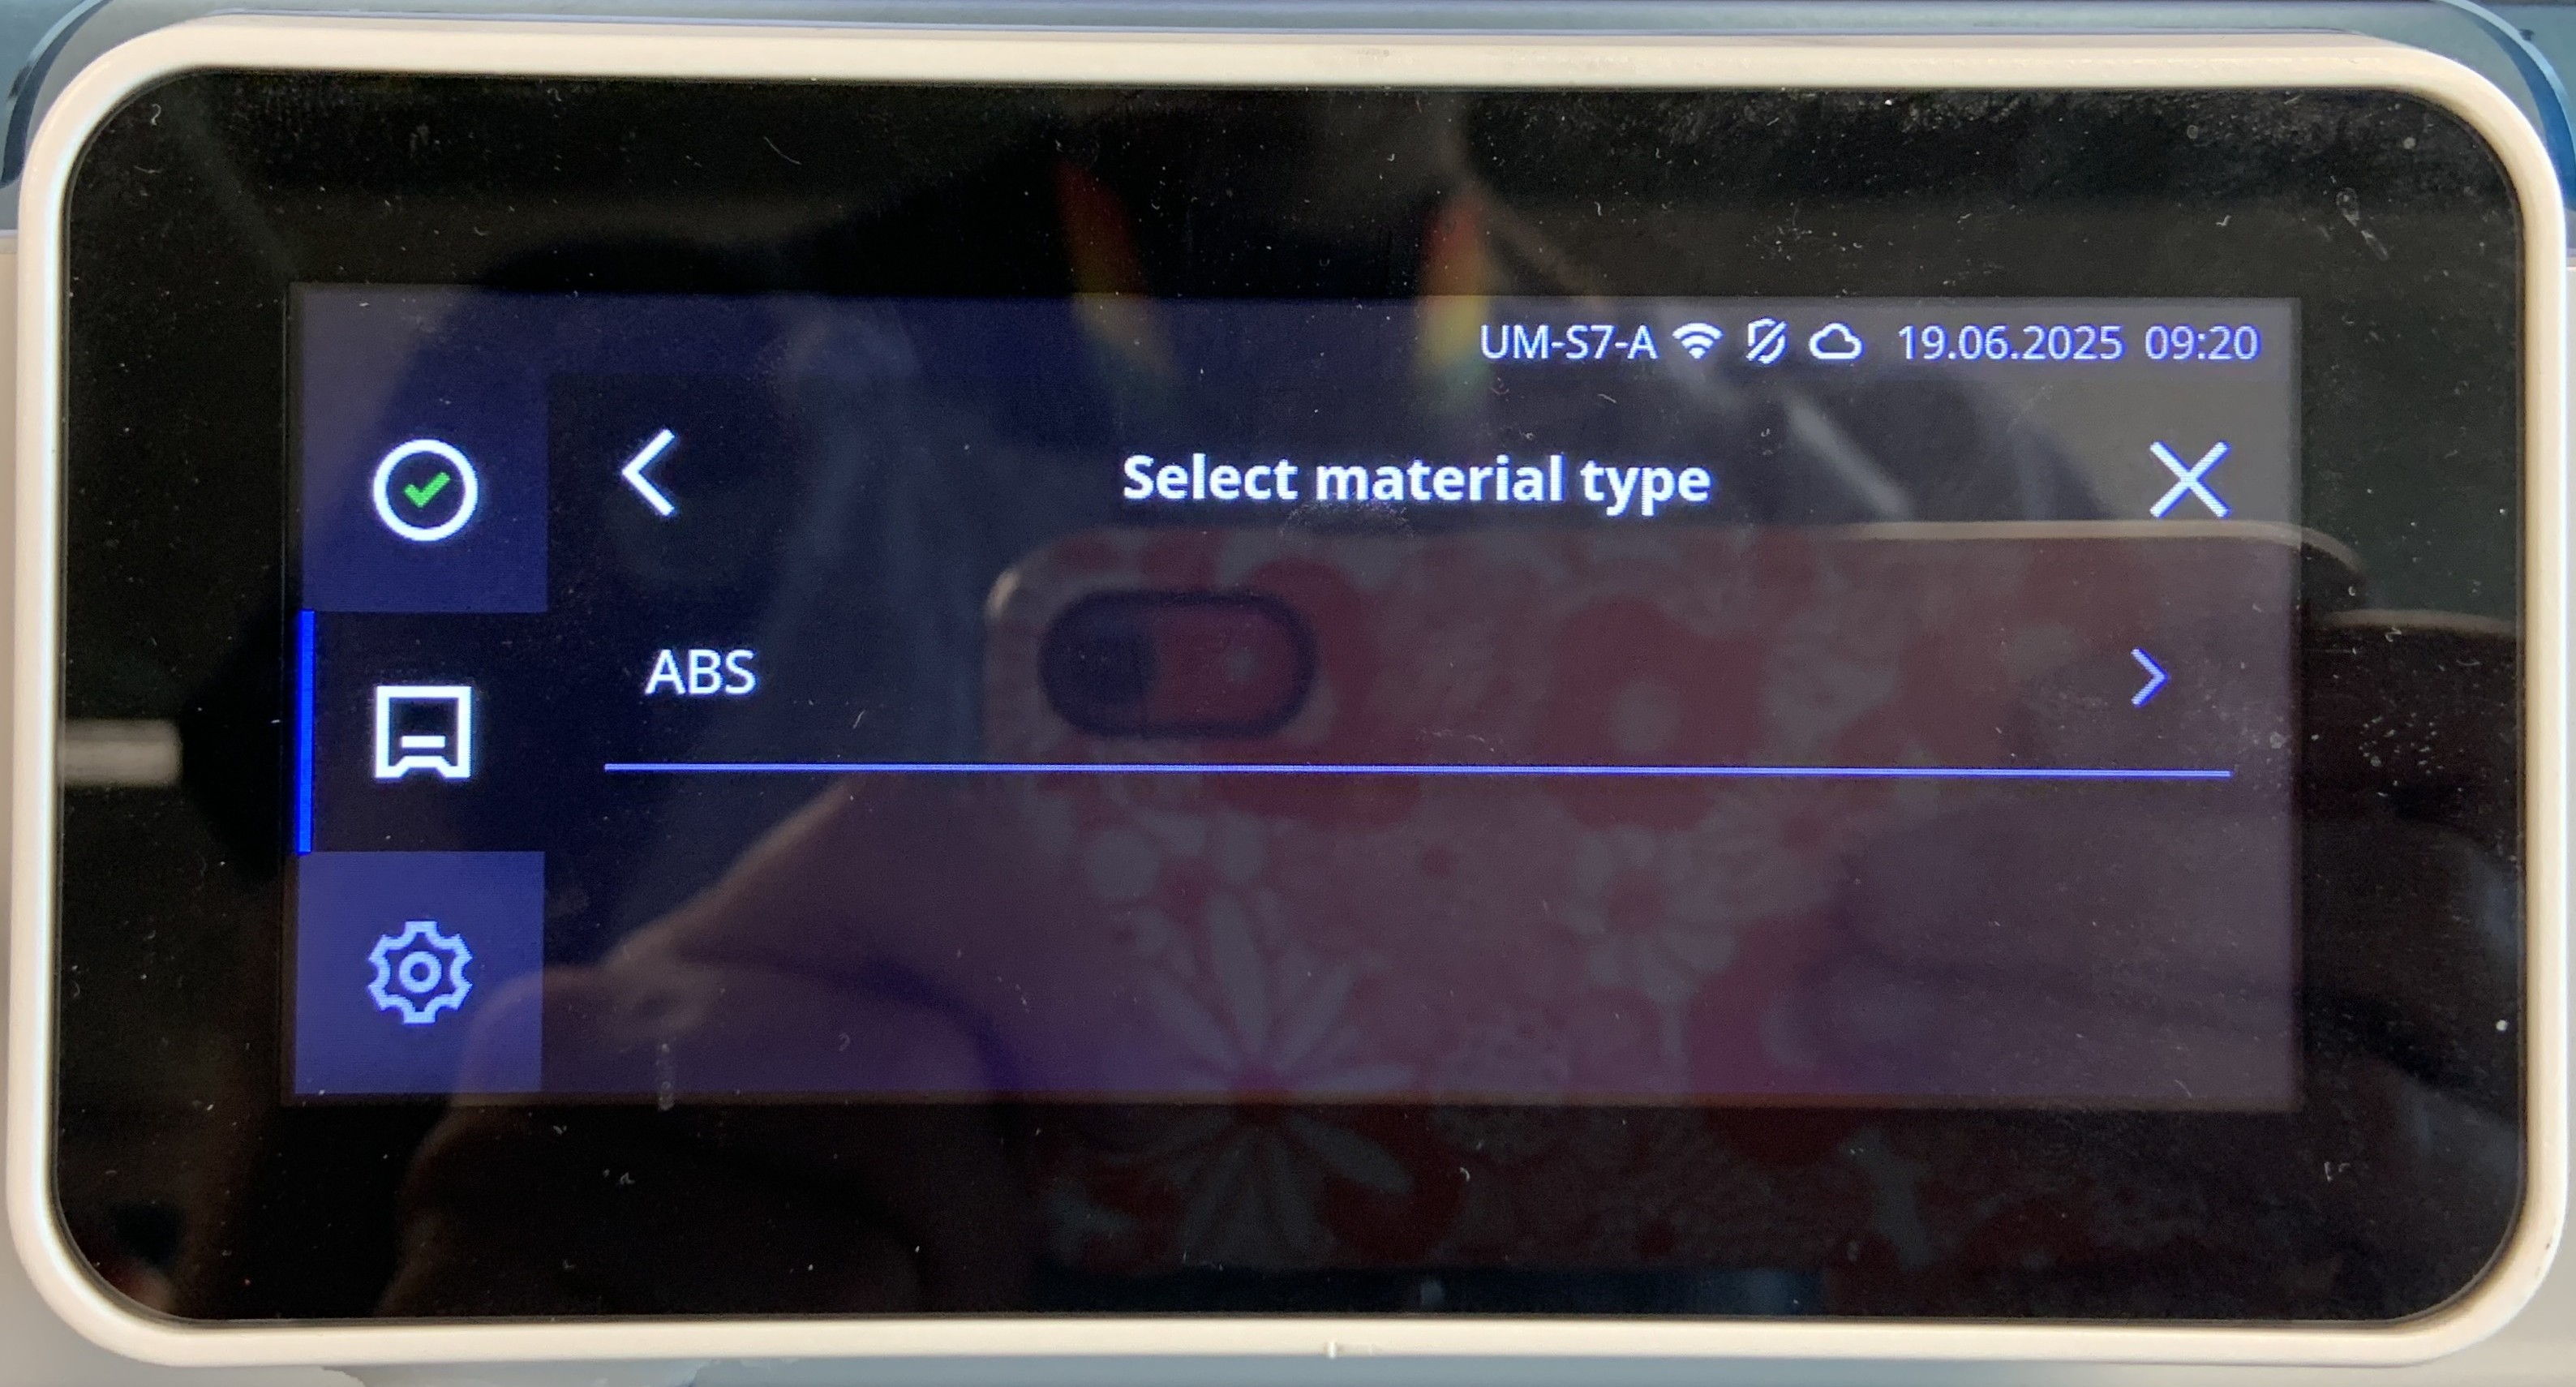
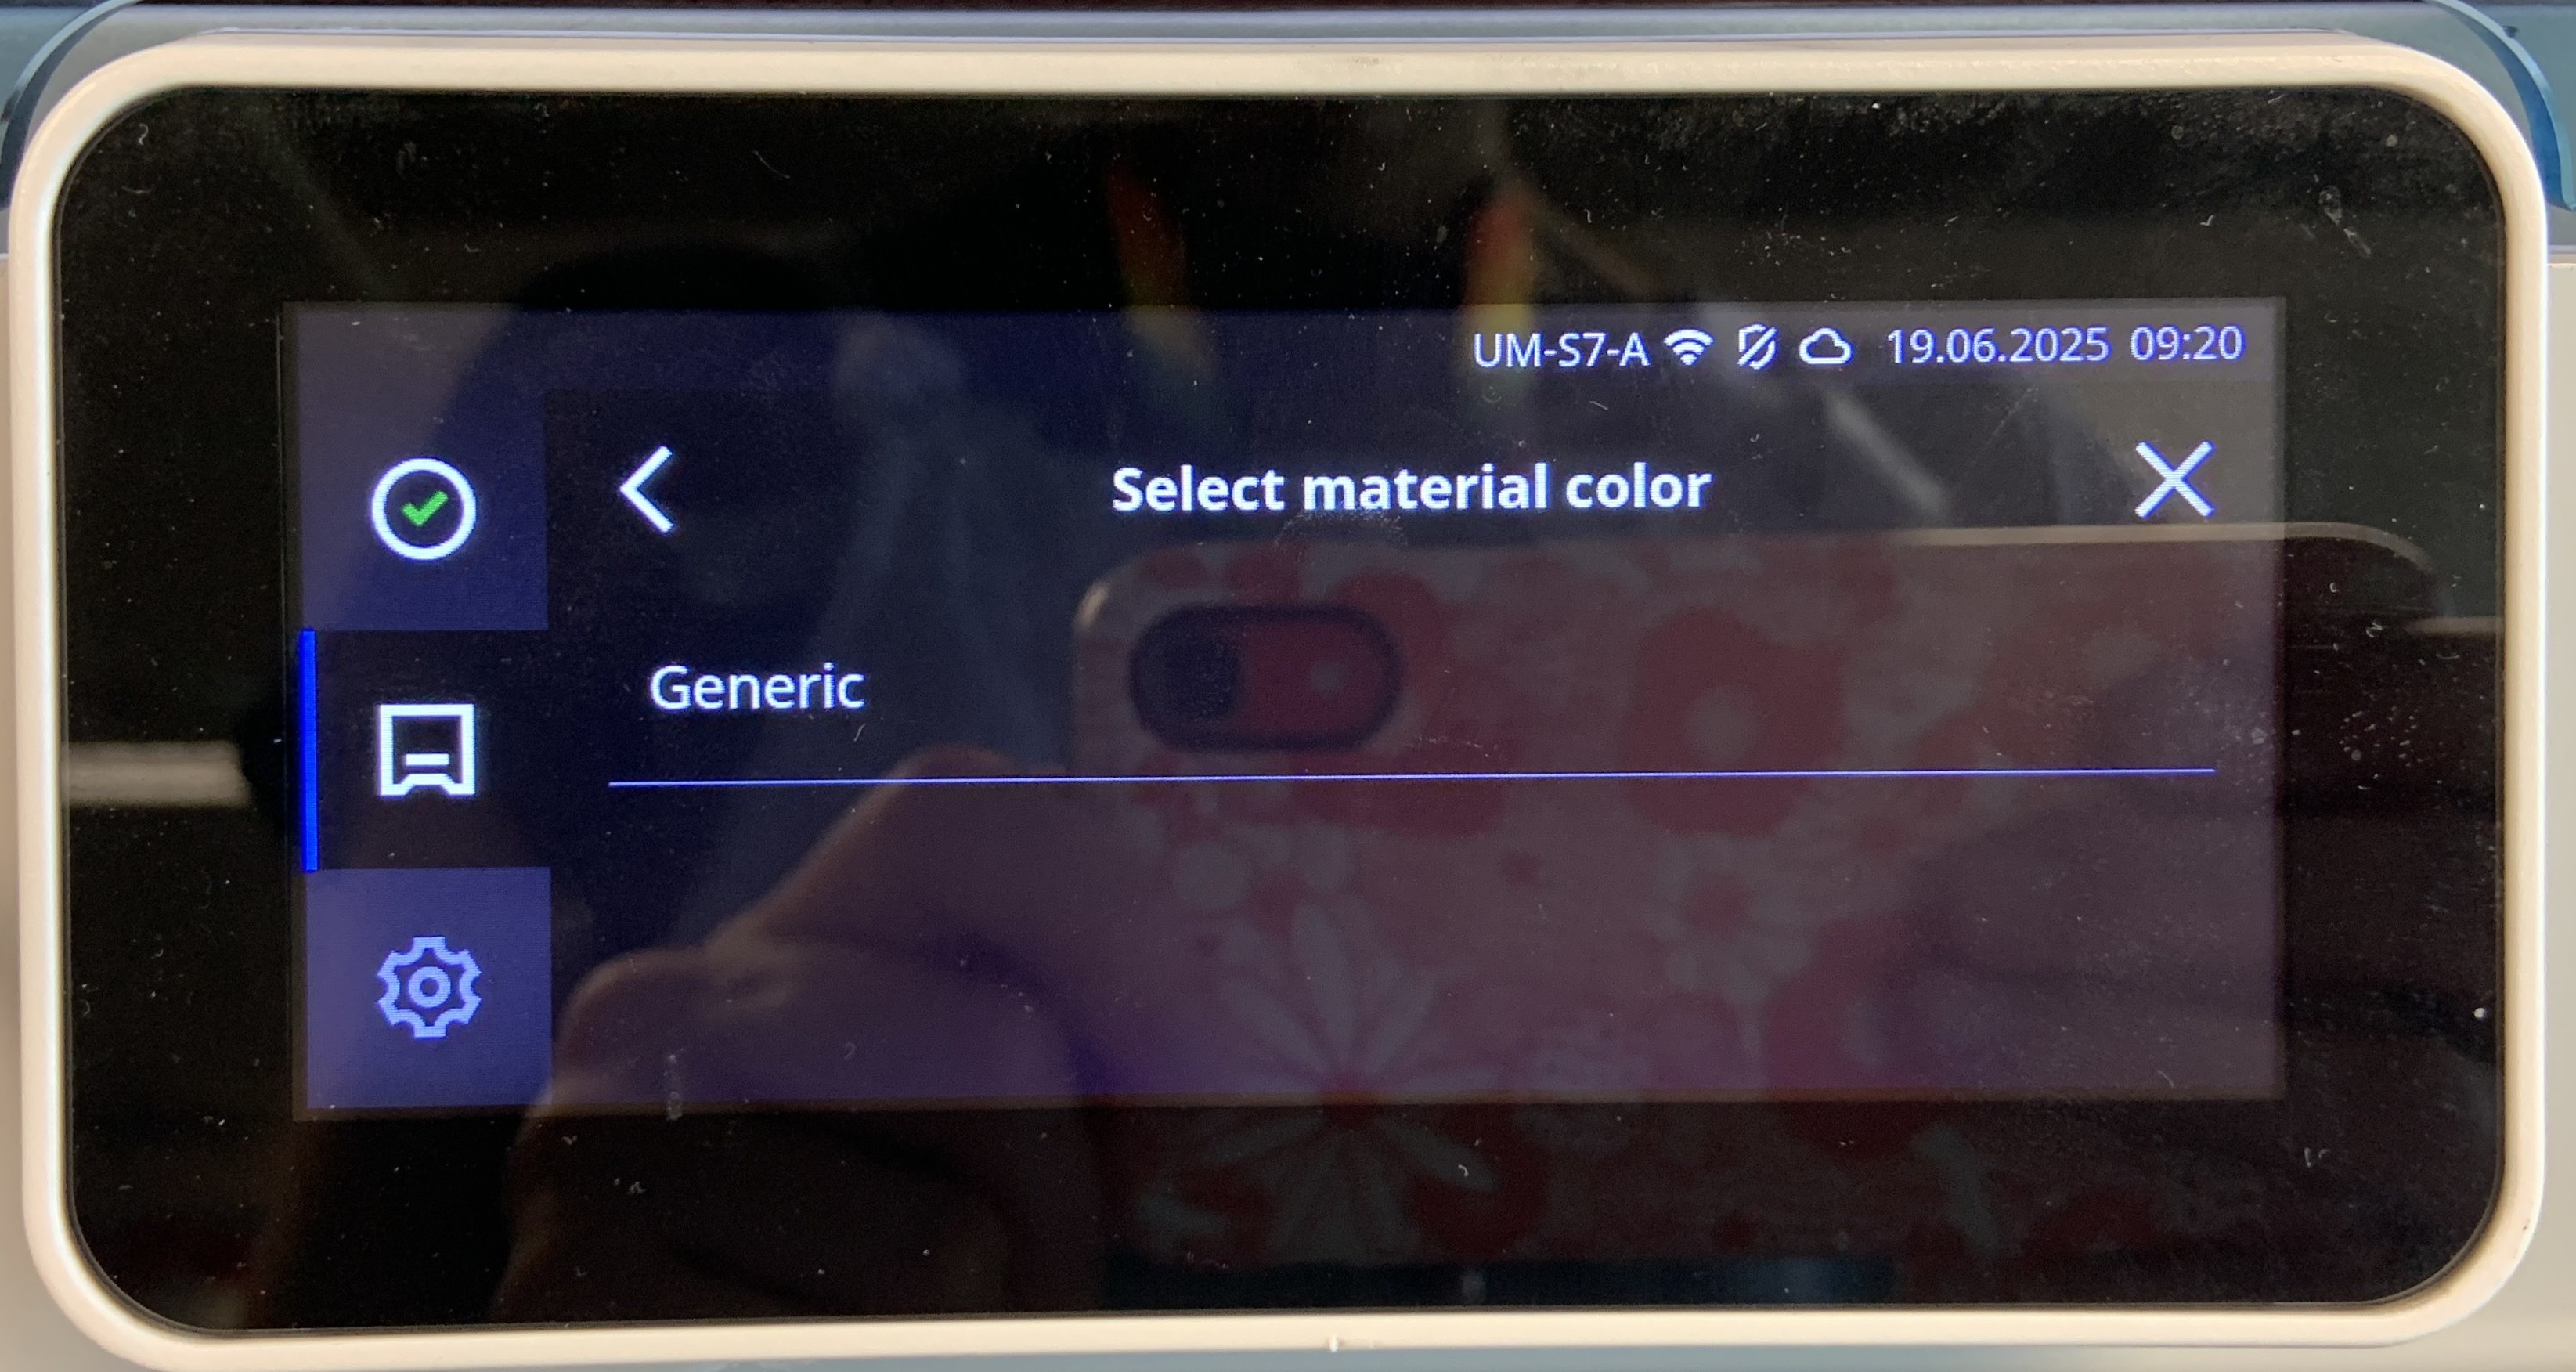
7. Open the filament screen on the Ultimaker printer and check that the filament loaded has been correctly identified.
Filament on white reels is Ultimaker branded and will be automatically recognised by the printer. Filament on cardboard spools will need the filament type selected manually.
To unload filament, press the eject button and gently pull out the material.
Place the spool on the shelves underneath the Bambu Lab 3D printers.
If you are loading in ASA material.
ASA does not have a default profile on Ultimaker. We have created a profile which you must use when printing with Ultimaker.
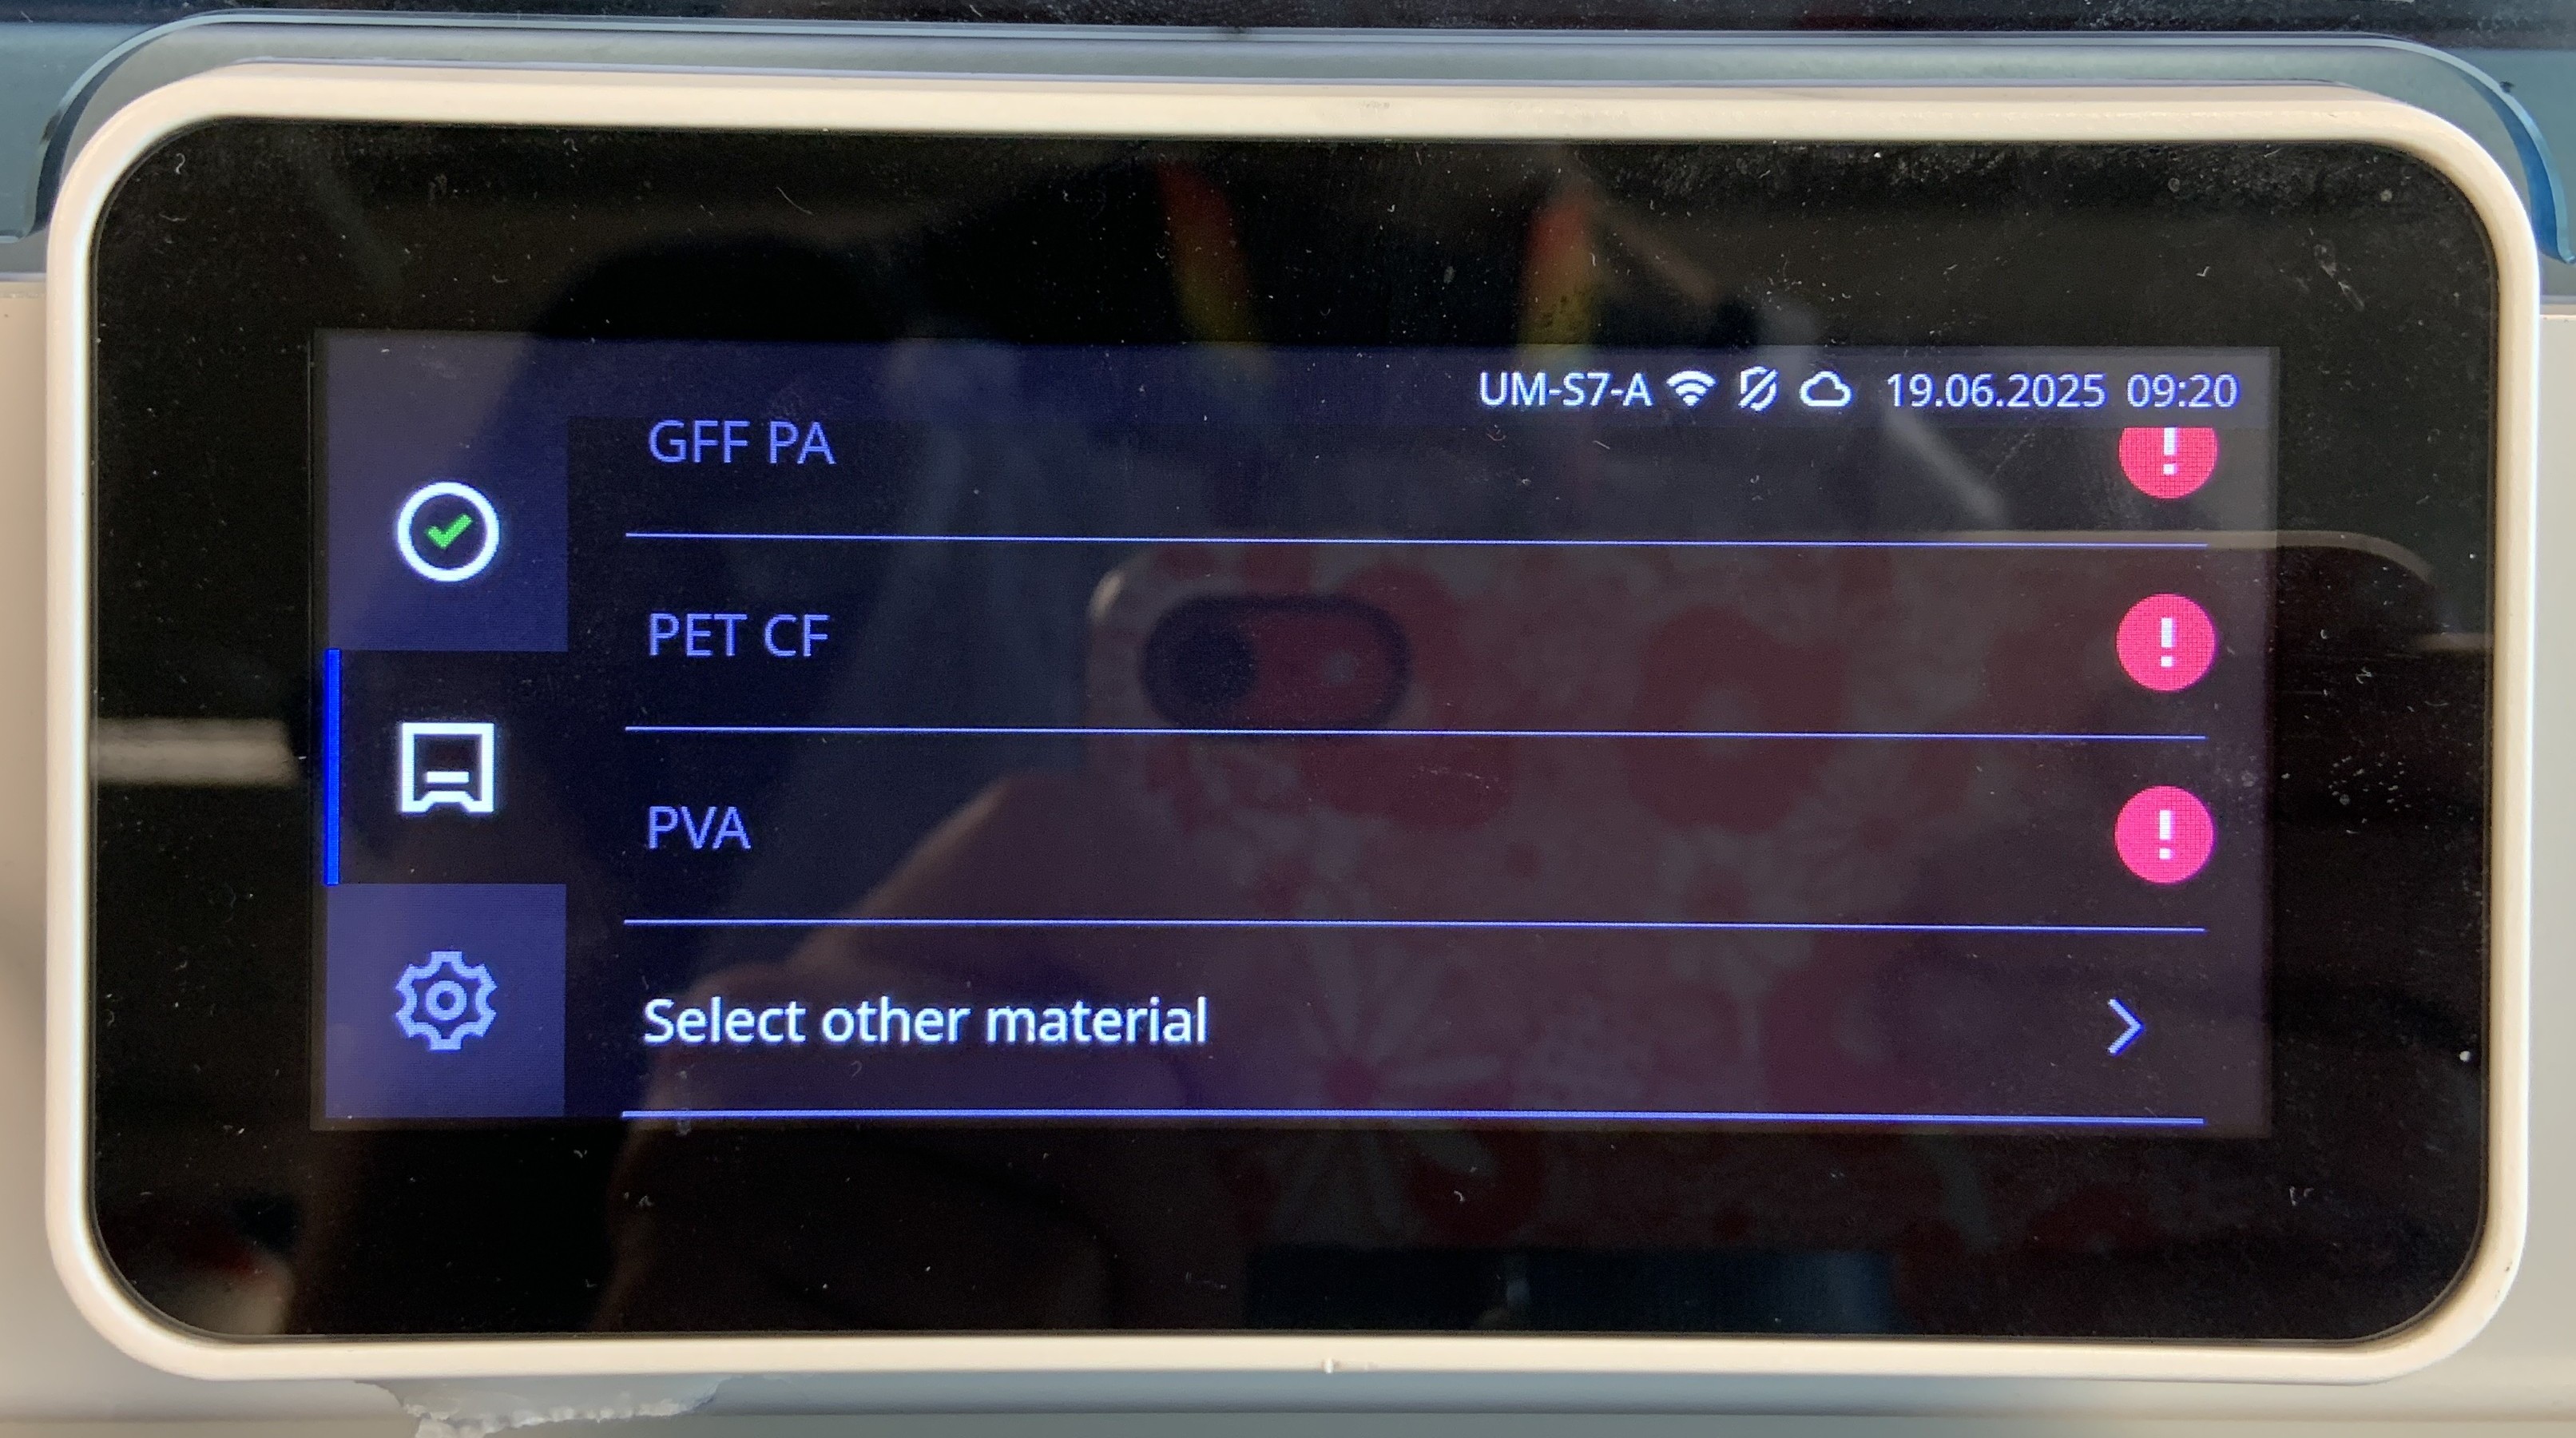
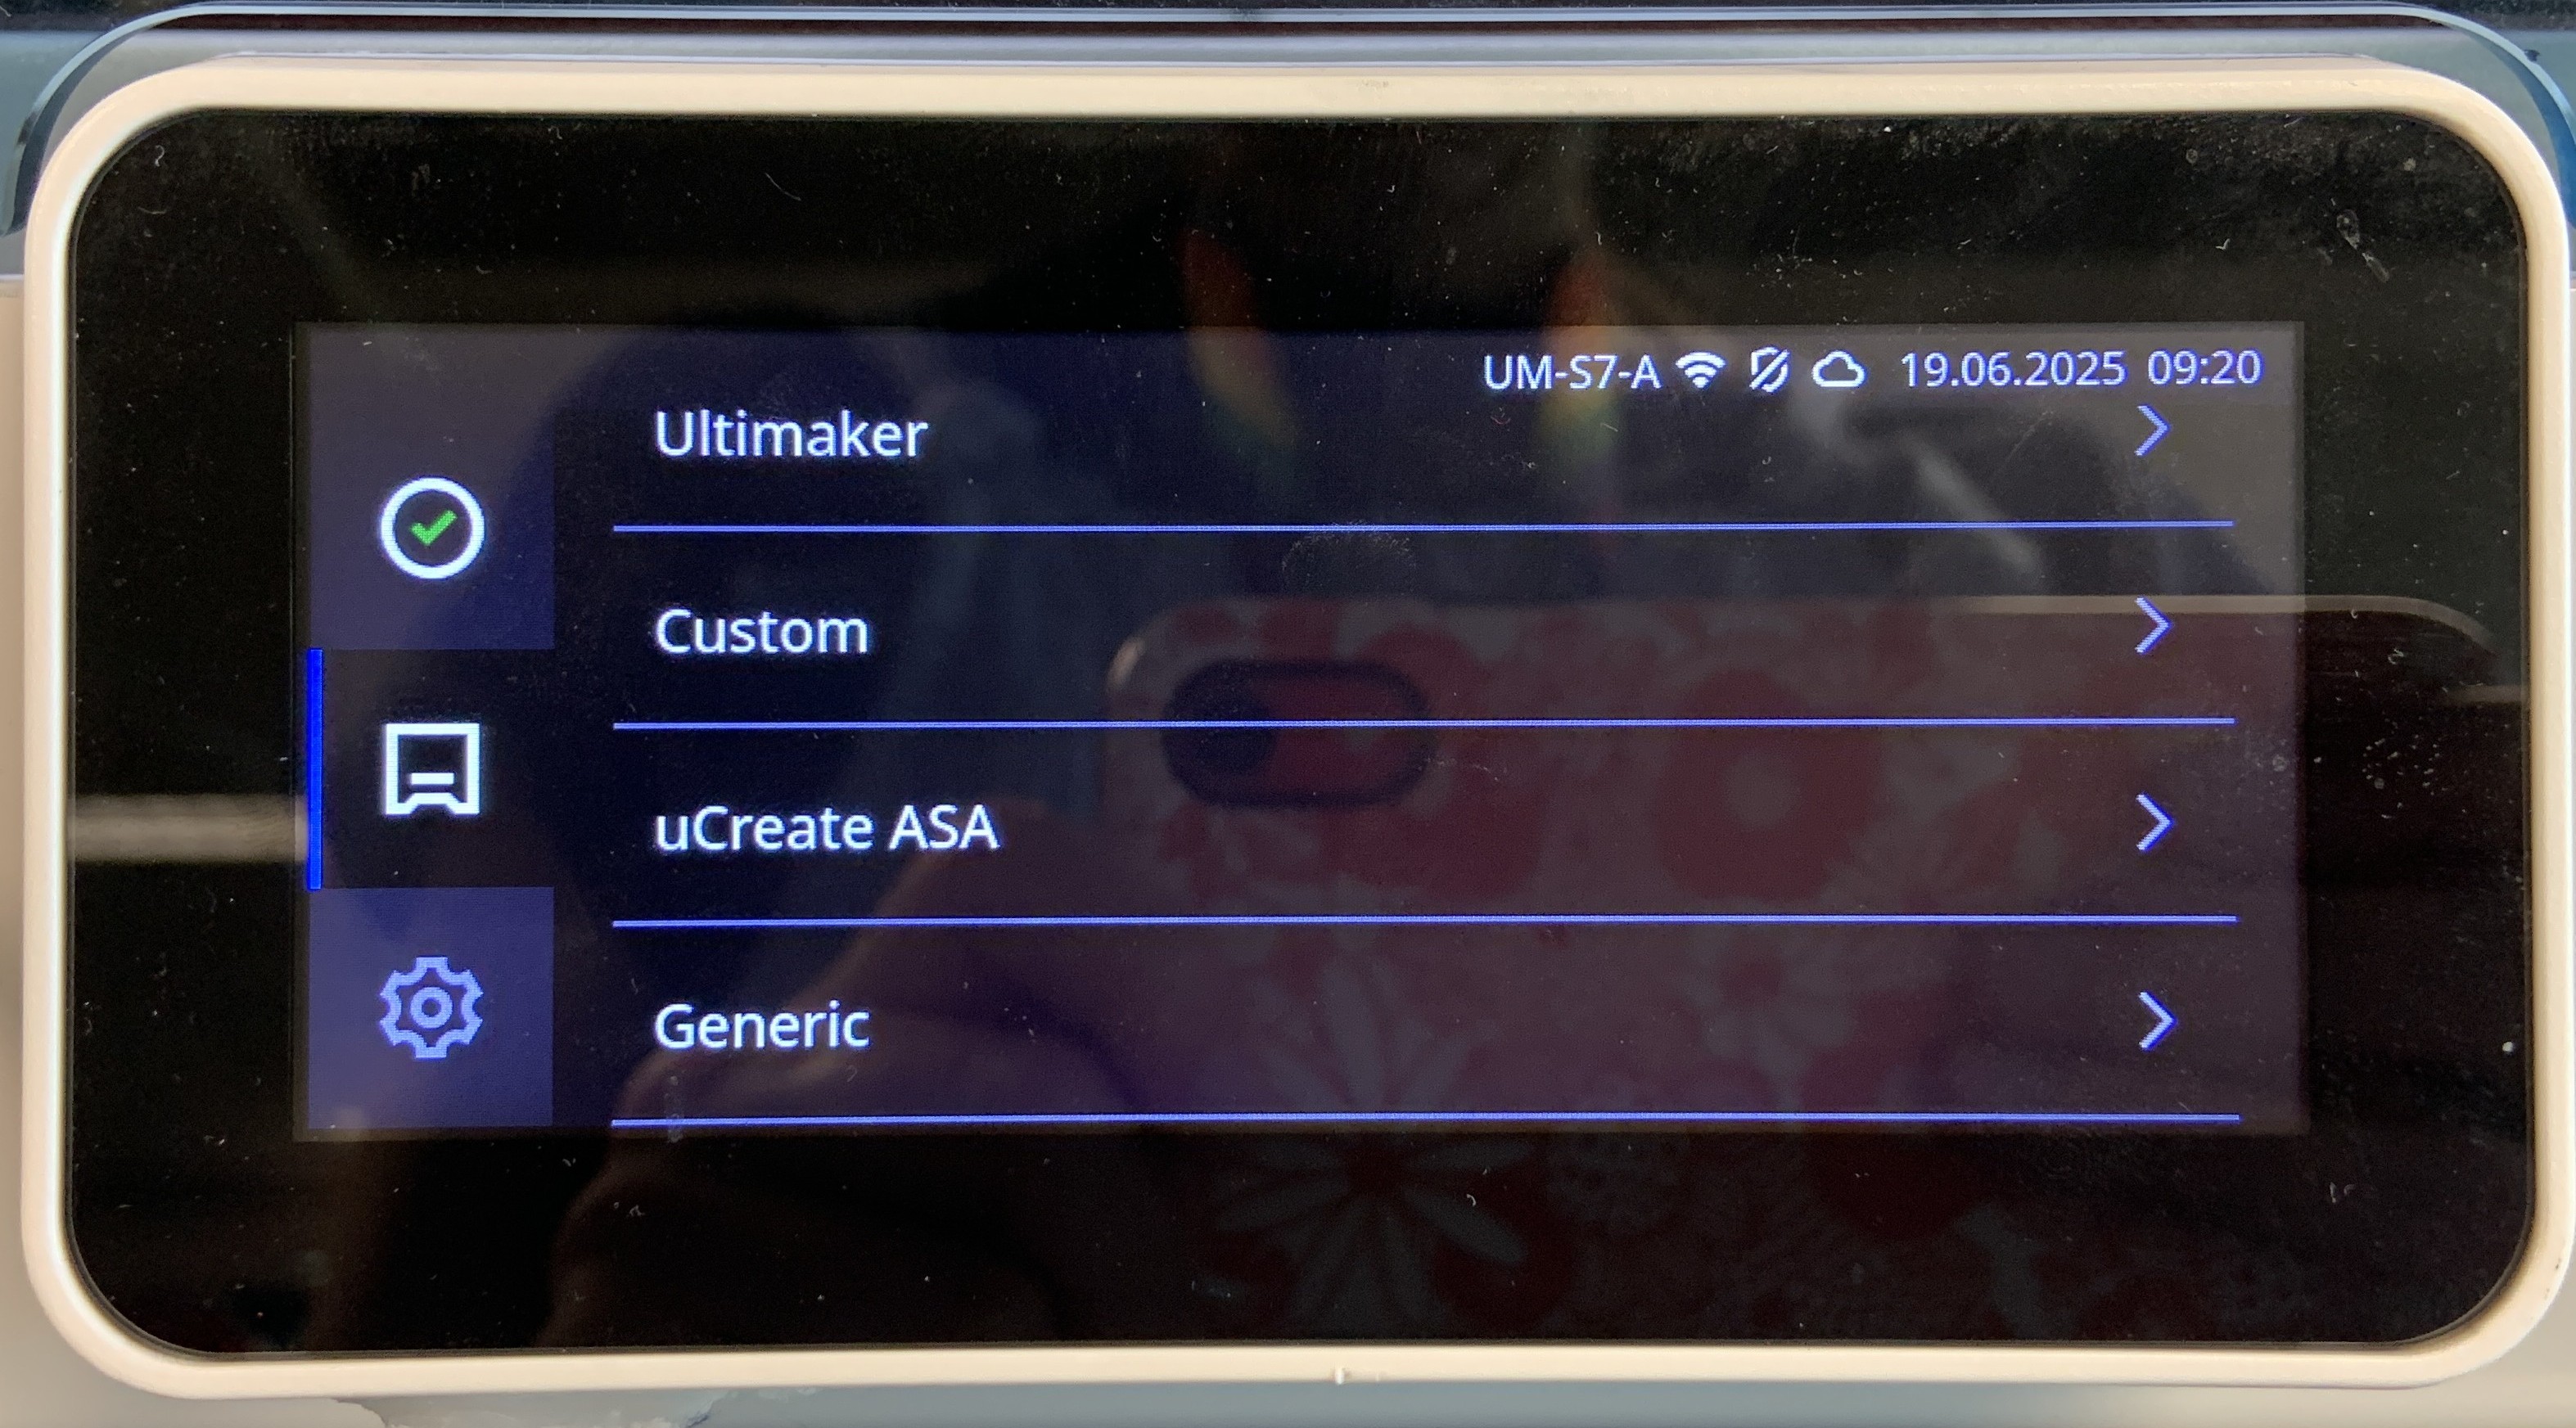
The ASA material profile is under select other materials > uCreate ASA > ABS > Generic.
On the material home screen, it will show as ABS General, but when you click into the material, it will say ABS General (uCreate ASA).
Loading in your print cores.

8. On the filament screen check the correct print cores are loaded.
For all material (other than PVA), an AA nozzle should be used. The print cores loaded must match the print cores selected in Cura.
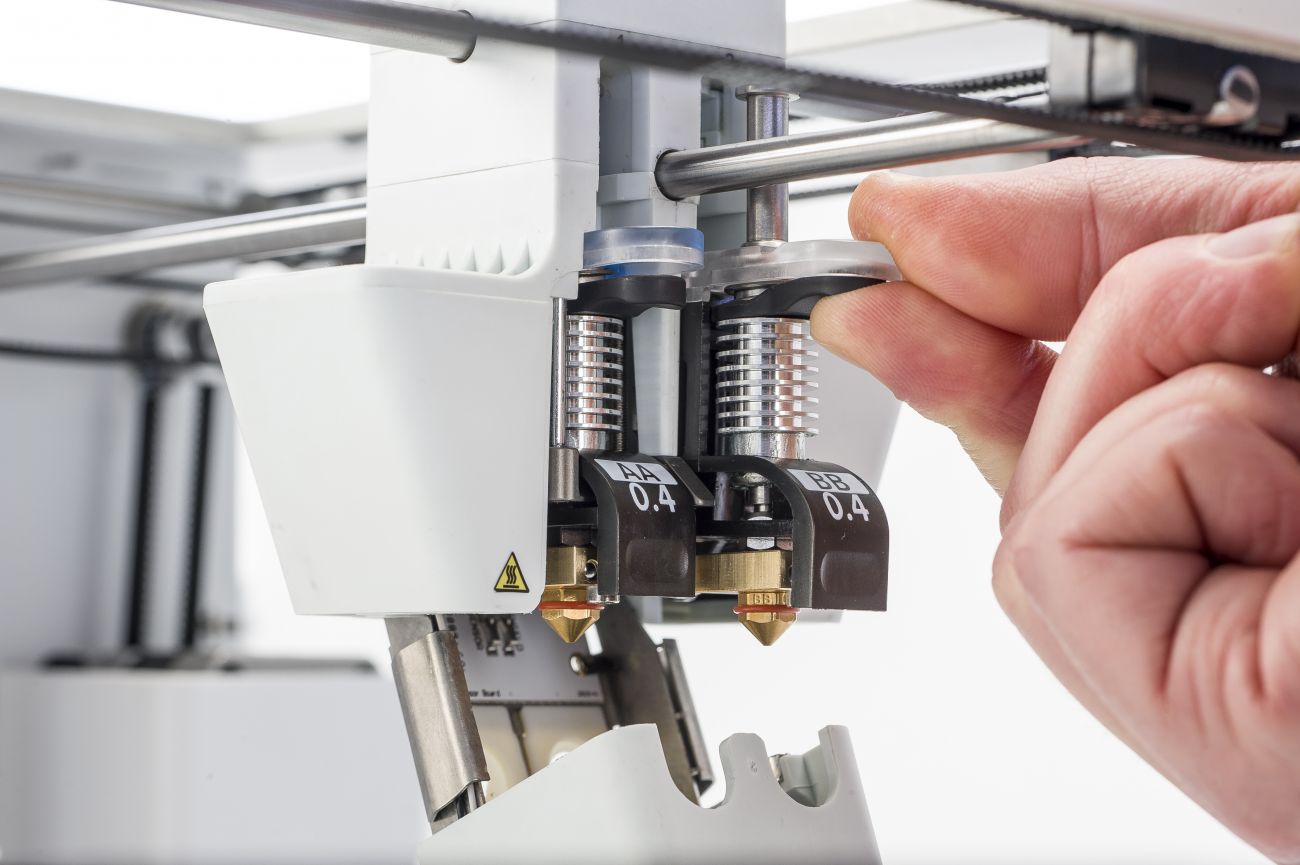
If a print core needs to be changed, select the print core and select 'Change print core'.
Follow the on-screen instructions, which will guide you through removing the old and putting in the new print core.
Spare print cores can be found around the makerspace, or ask a member of staff.
Printing.
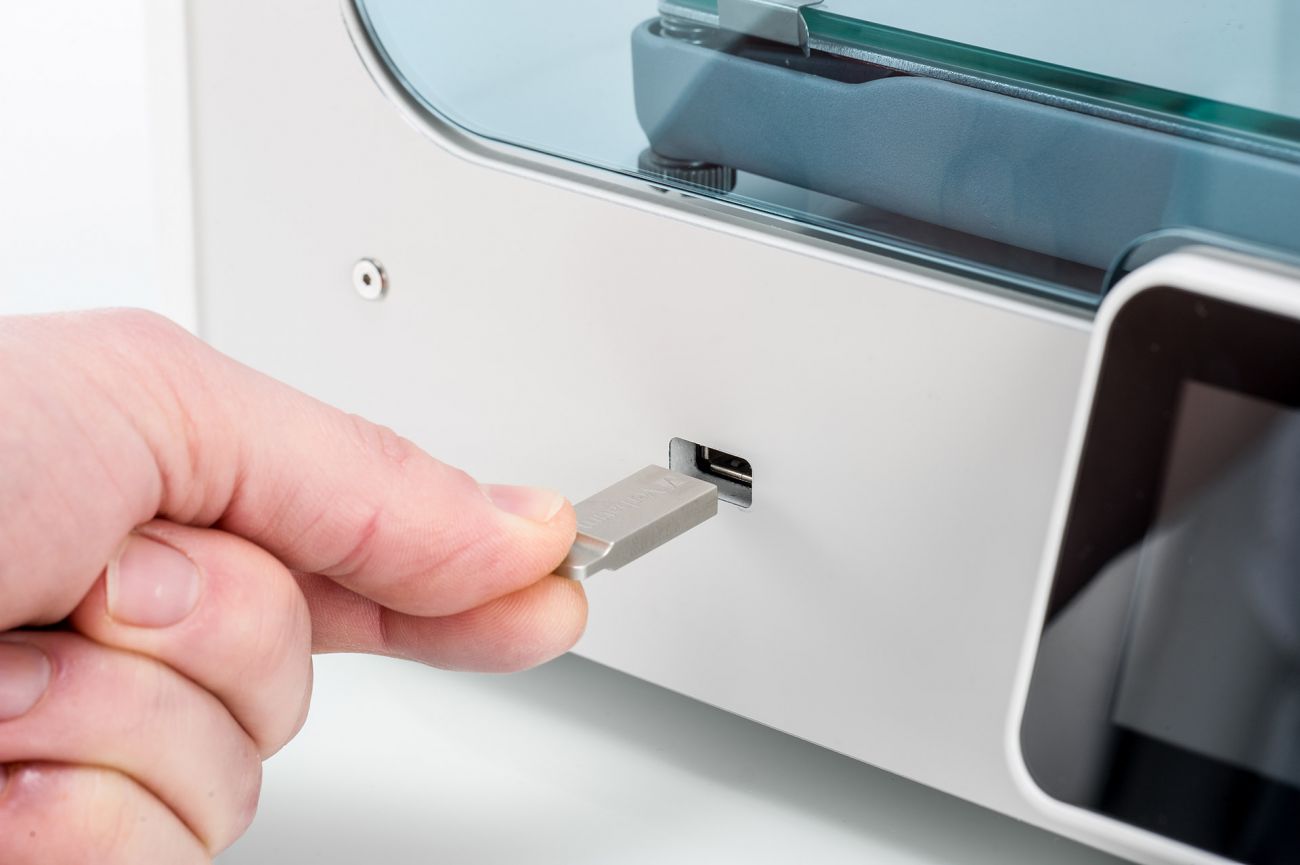
9. Insert the USB stick into the front port of the printer and under 'Ready to print', press 'Select from USB'. Choose your file and select print.
If any error messages appear, showing a mismatch between the sliced Cura file and the printer set up, check your settings. DO NOT ignore these warning messages.
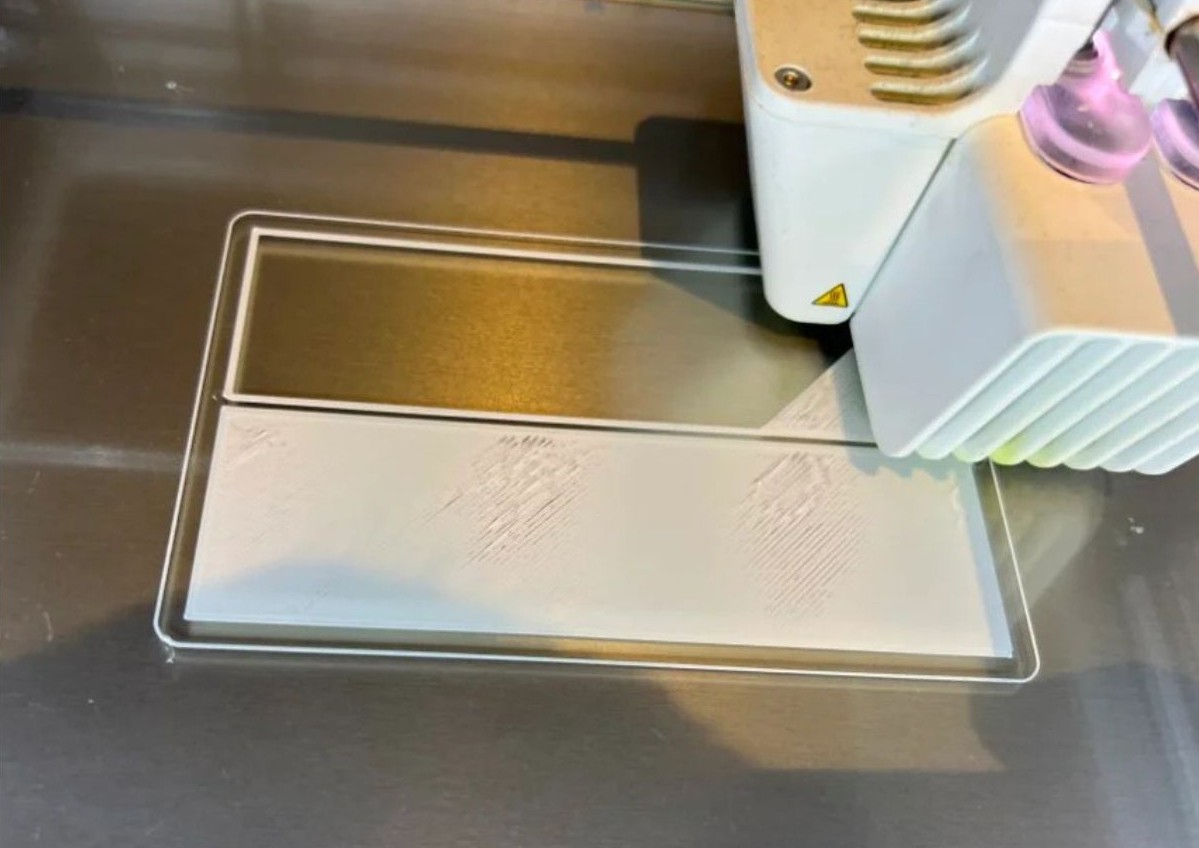
10. Wait until the first layer of your print has printed and is adhered to the build plate.
Ultimaker prints sometimes struggle to adhere to the build plate. It is important that you ensure the first layer of your print has adhered to avoid printer errors.
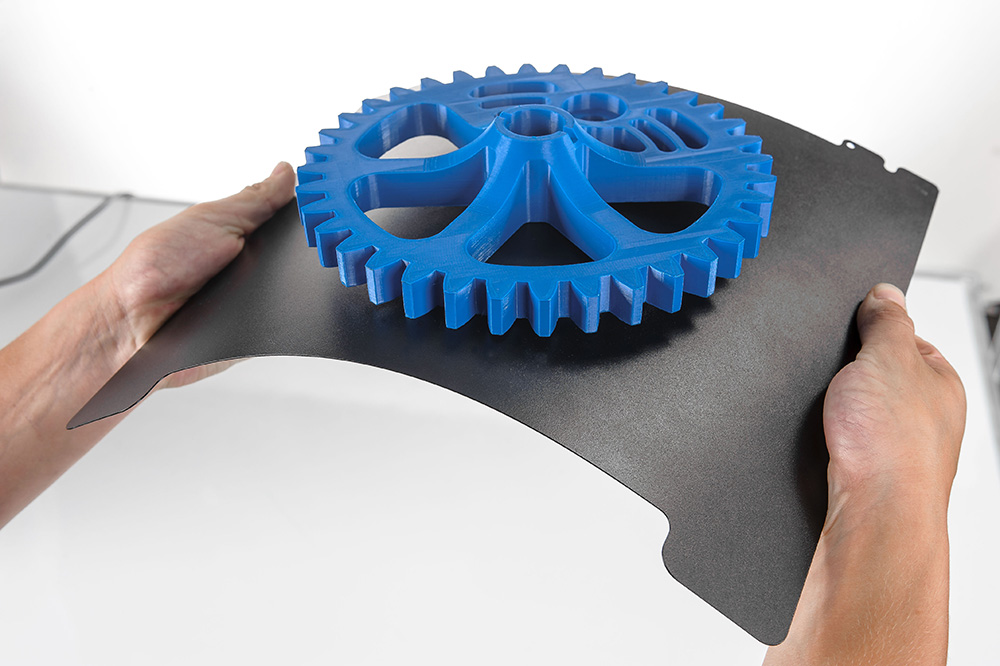
11. Remove your print from the build plate so the printer is ready for use by the next user.
To remove your print from the plate, remove the build plate from the Ultimaker S7 printer and gently flex it to release the print. The buildplate from the S5 cannot be removed, please use a scraper.
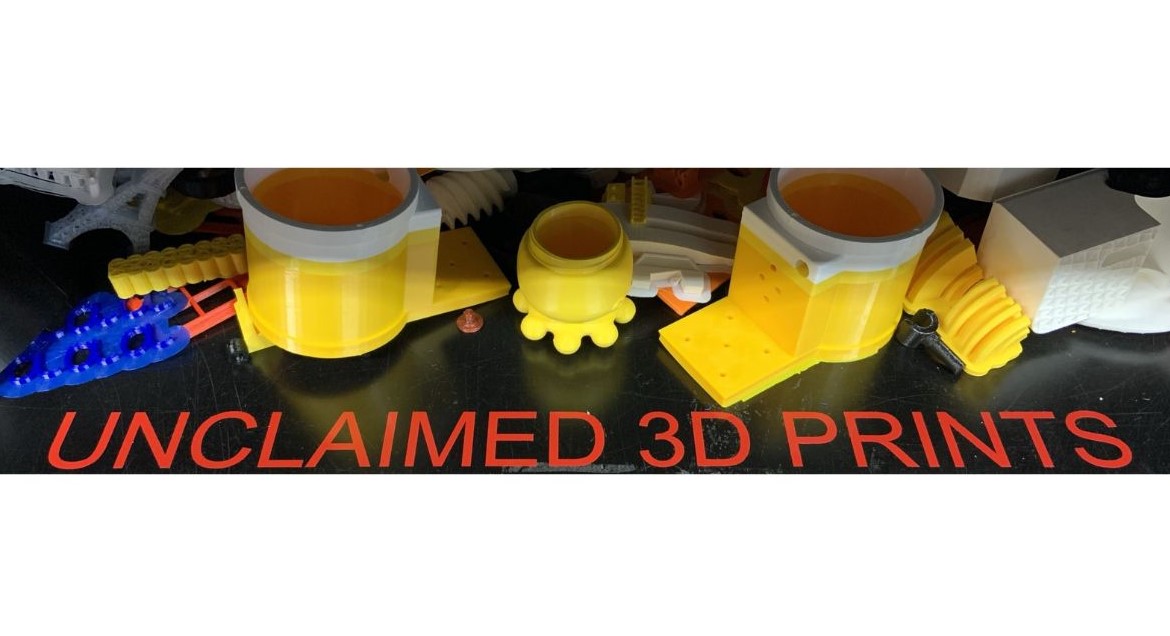
If you have a printer booked and there is a completed print on the buildplate, remove it and place it on the 'Unclaimed Prints' shelf.