
What is the EinScan-SP?
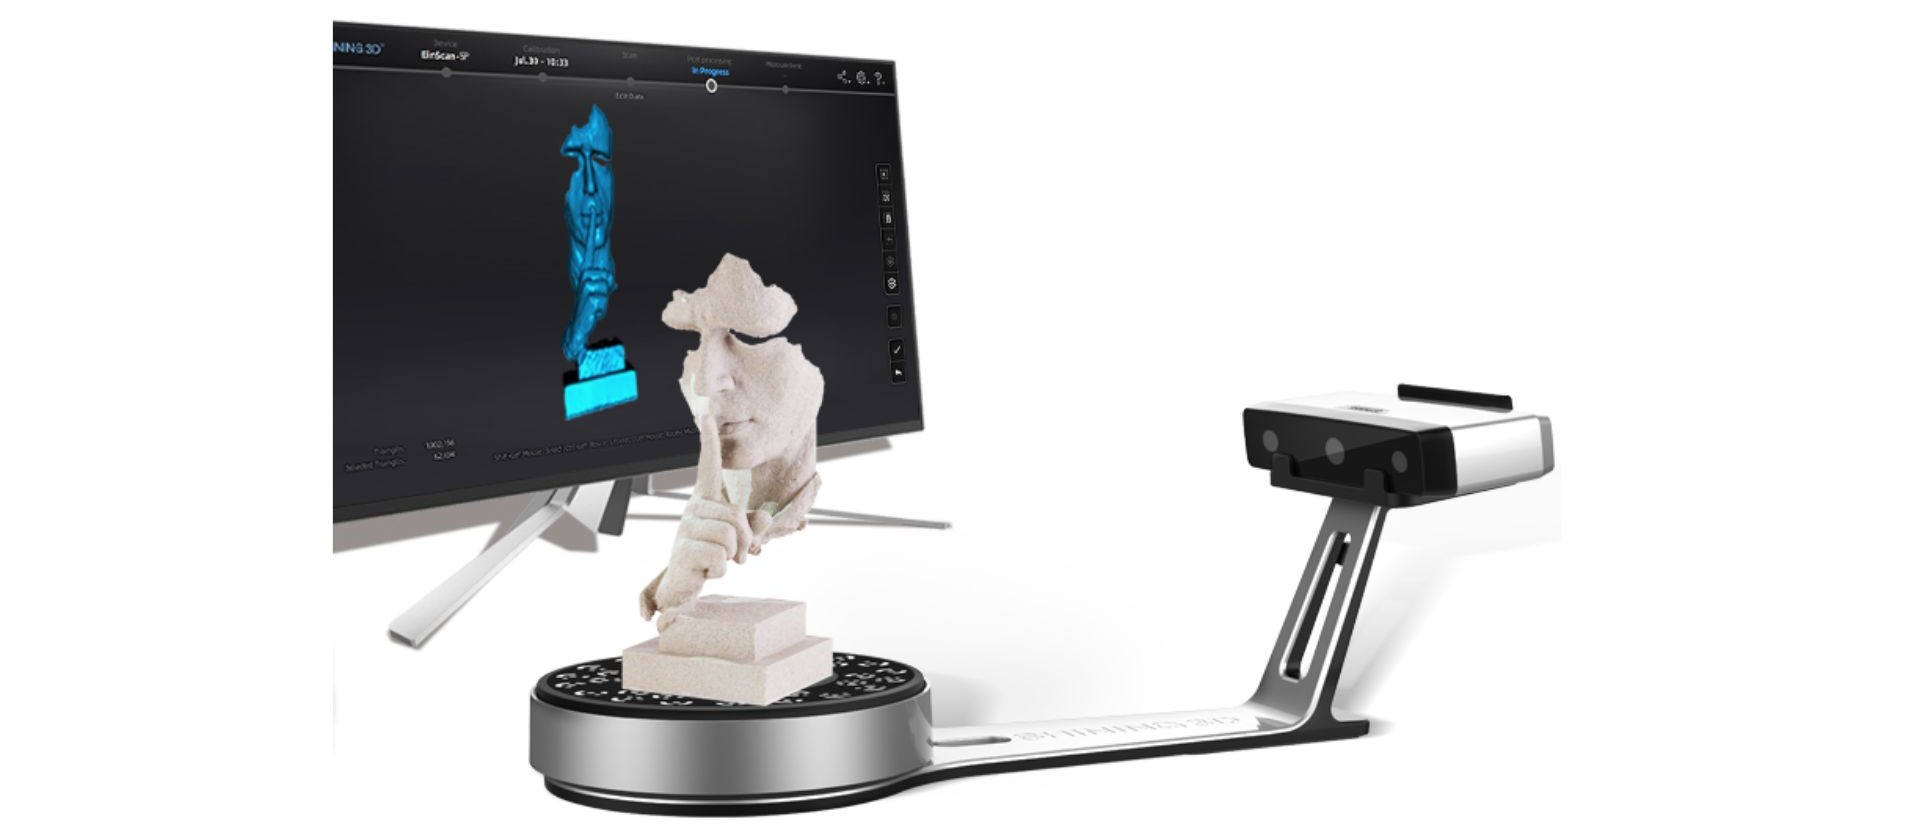
The EinScan-SP is a structured light, object scanner with a turntable. The scanner is connected to the turntable, so the scanner is always at the optimum scanning distance. It uses targets on the turntable to align your scans and is best for small objects, ideally under 10cm^3.
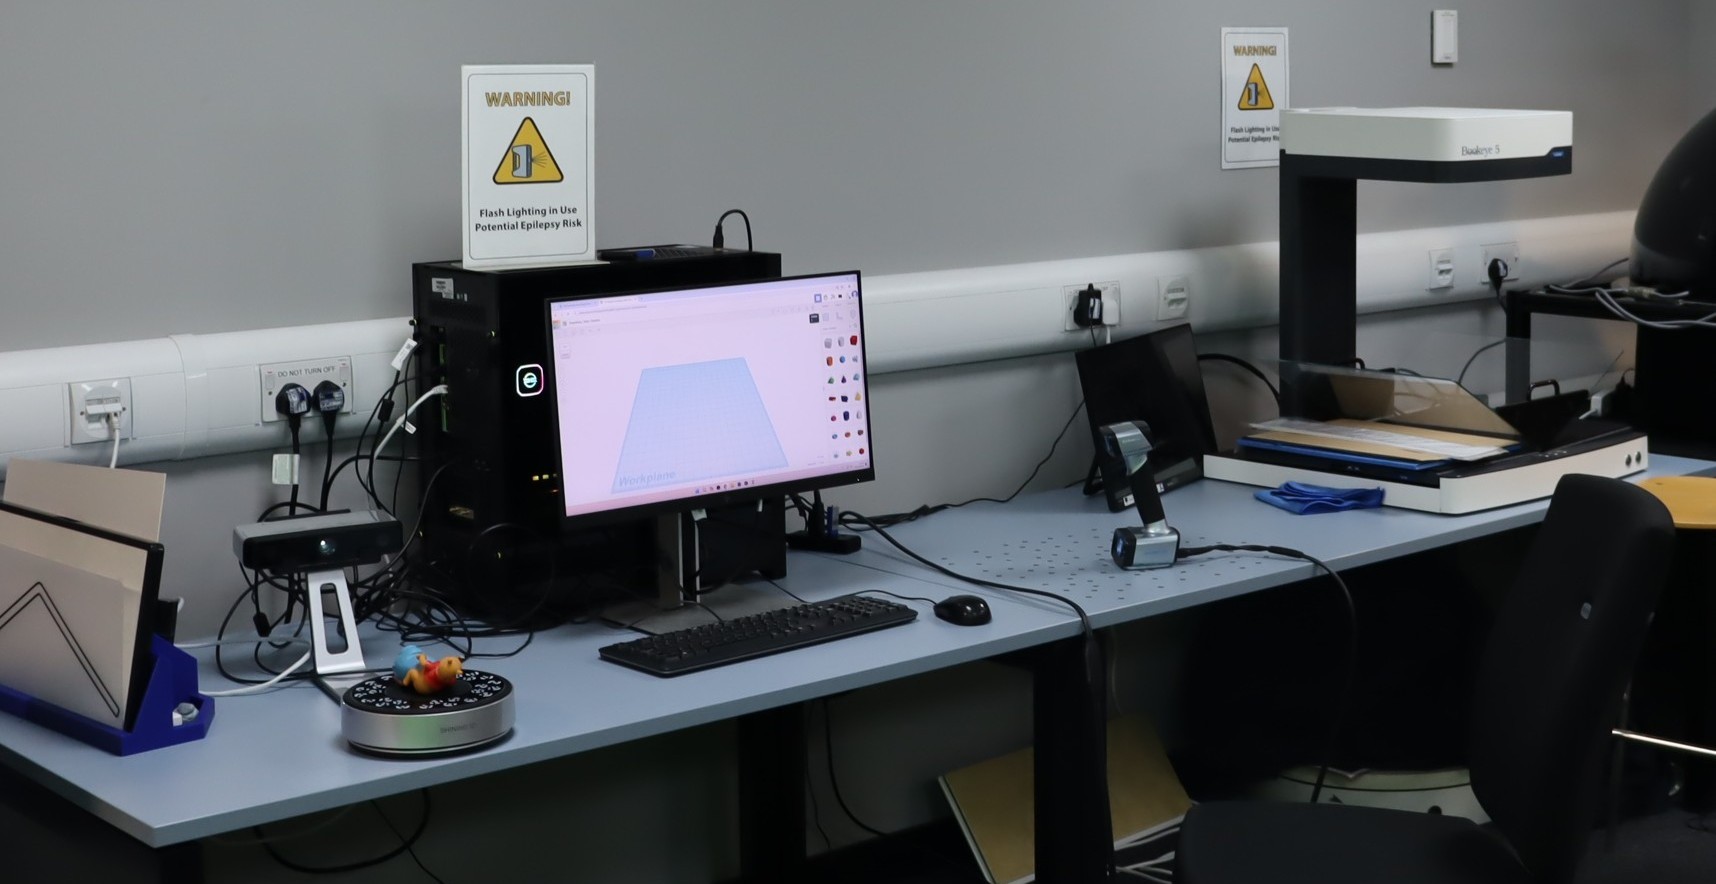
The Scanner is available in the Digital Transformation Suite to use in the space and is the scanner covered in the object scanning training provided by uCreate.
This scanner supports coloured (textured) scans.
What could I use the EinScan-SP for?
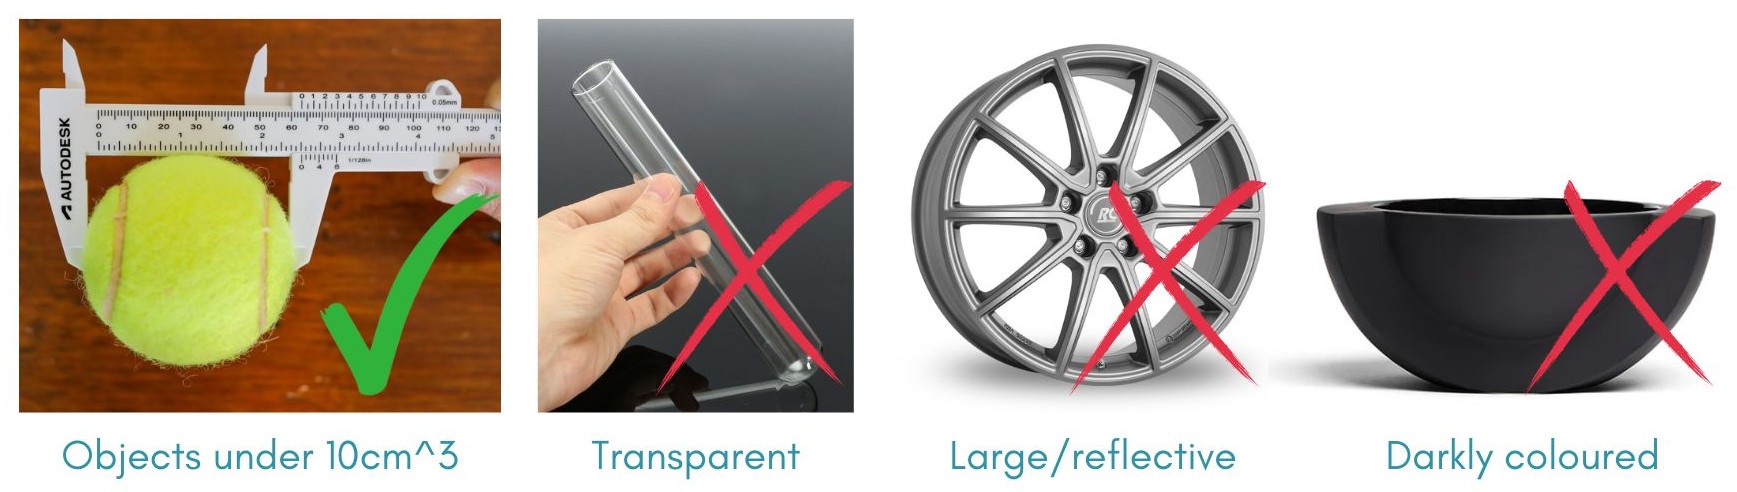
The EinScan-SP is best suited for objects under 10cm^3 but you are able to scan objects up to 20cm^3, as long as it does not cover all of the targets. If the targets are covered, your scans will not be able to align.
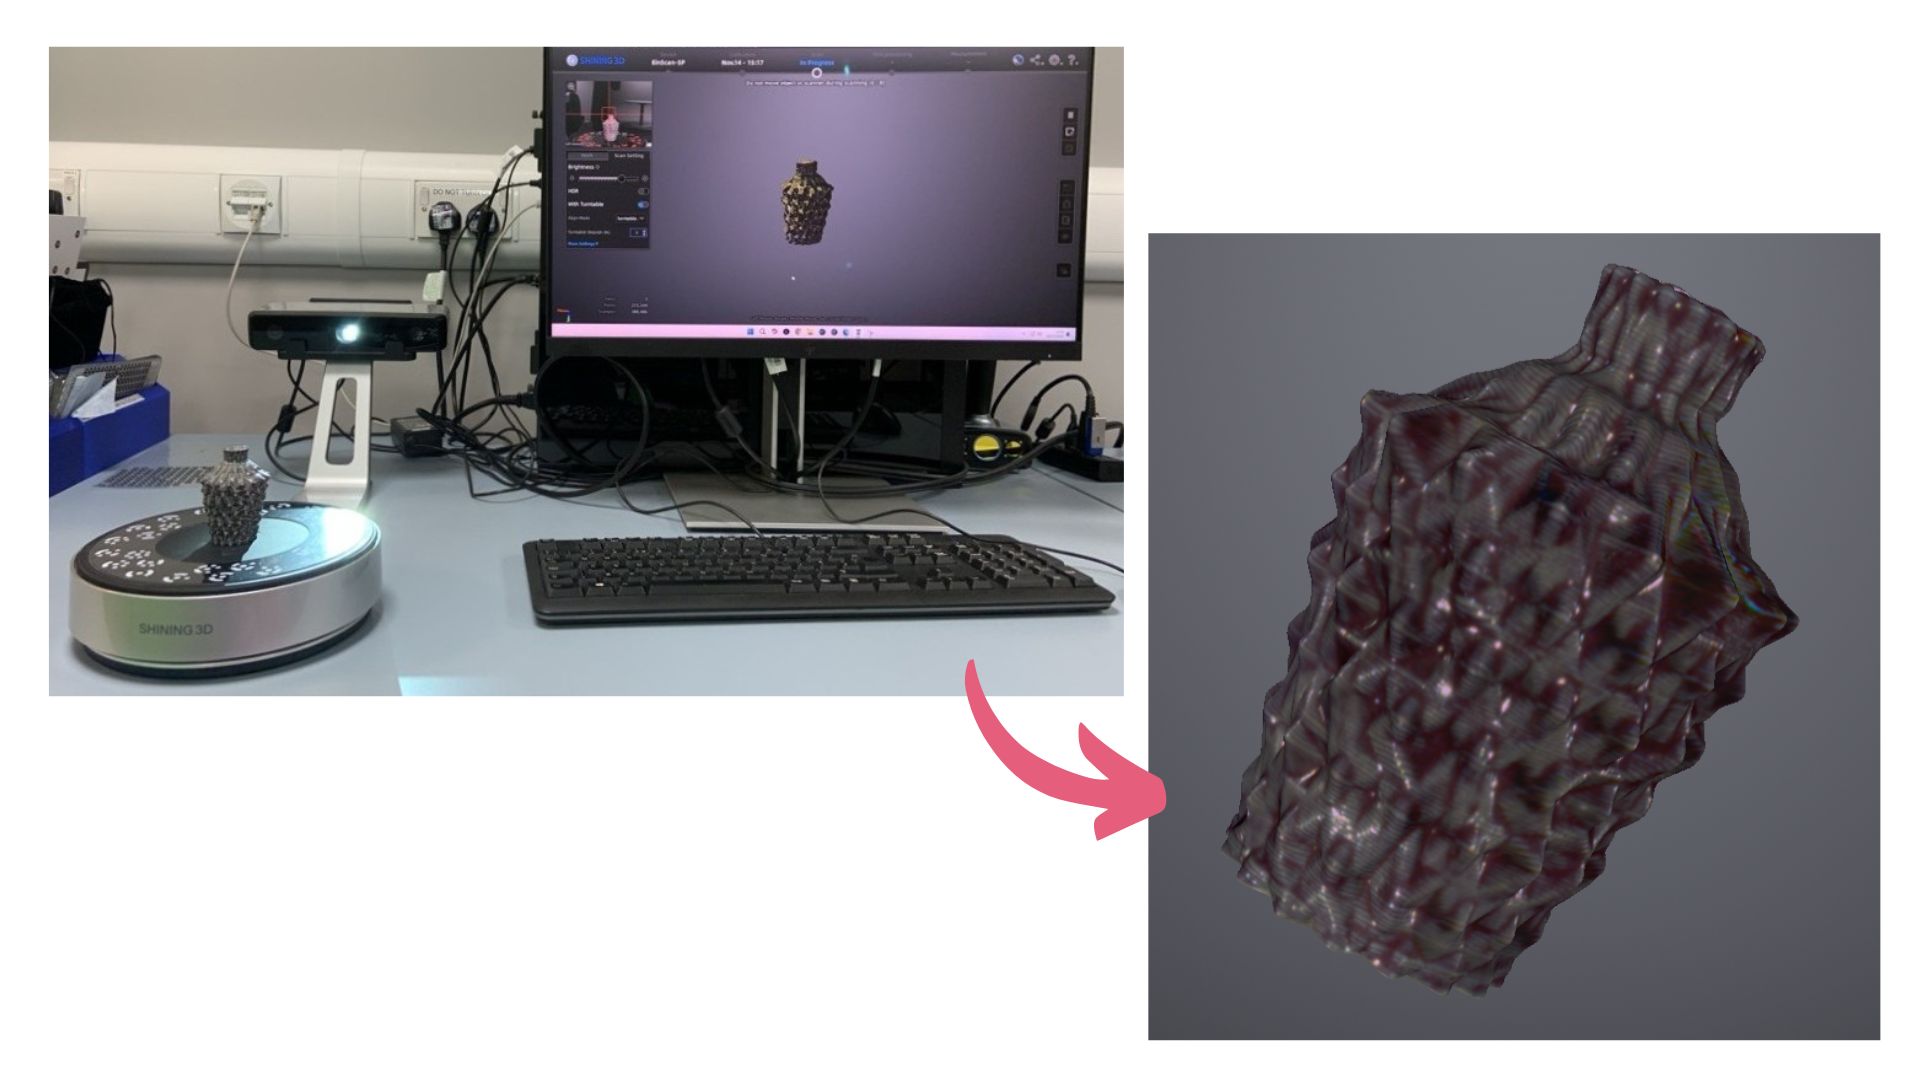
Transparent, shiny, reflective, and darker-coloured objects are difficult to scan with the EinScan-SP. Try applying chalk powder to the surface of the object or use the EinScan HX.
Object must be stable when scanning, blue tac can be used to secure the object if needed or the turntable speed can be reduced.
It is difficult to scan objects with a hollow pattern, like a tube.
Where can I access the EinScan-SP?
The EinScan-SP is available in our Digital Transformation Suite (uCreate Main Library, First floor, room 1.15) only. It is not available on our loans service to take outside of the makerspace.
Top Tips for scanning with the EinScan-SP.

Connection and license error
If when you open up the scanning software, the scanner does not connect, ensure that only the scanner you want to use is turned on. If multiple scanners are turned on, your scanner will not connect.
This can also cause a license error.

Adjusting brightness
Before taking your scan, you will need to adjust the brightness for your object.
When setting the brightness for your scan, you are looking for some red to appear on the model in the viewing window. This means that the scanner can see the object. If the object you are scanning is fully red, it is overexposed and will not scan well.
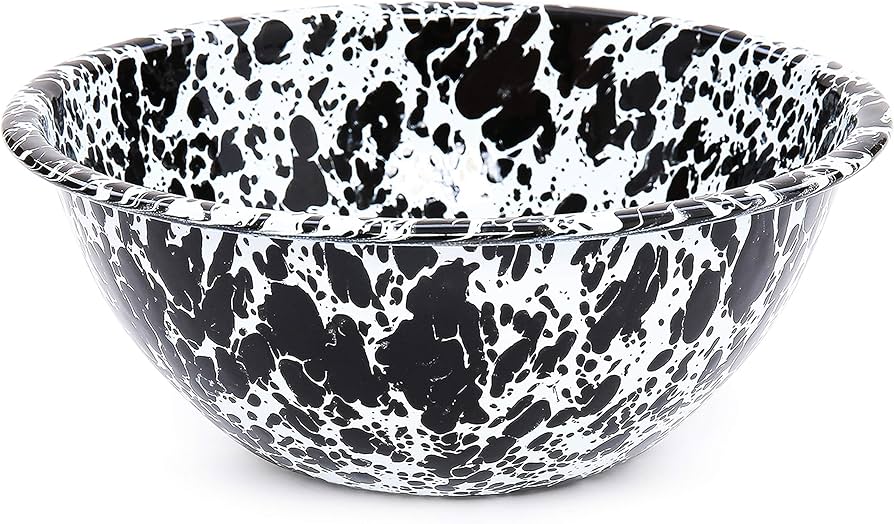
Scanning high contrast objects
If you are scanning a high contrast object, for example an object that is both black and white, you will need to take multiple scans. Each scan will only capture one of the two colours as they require different brightness levels to scan well.
You can either scan with the HDR (high dynamic range) turned on, in the scan settings, or take multiple scans at different brightness levels.
How to use the EinScan-SP.
The software for the EinScan-SP is very user friendly as walks you through the process of calibration and scanning.
For a written step-by-step of how to scan, see below.
Setting up for your scan and Calibration.
Calibration is only required when there is a change in the lighting of the environment. If you are using the scanner in the Digital Transformation Suite, you do not need to calibrate it.
If you are taking a scanner away from the makerspace, using our loans system, you will need to calibrate the scanner.

1. Plug in the scanner and tap the power button on the back of the scanner. Start the EXScan S Application.
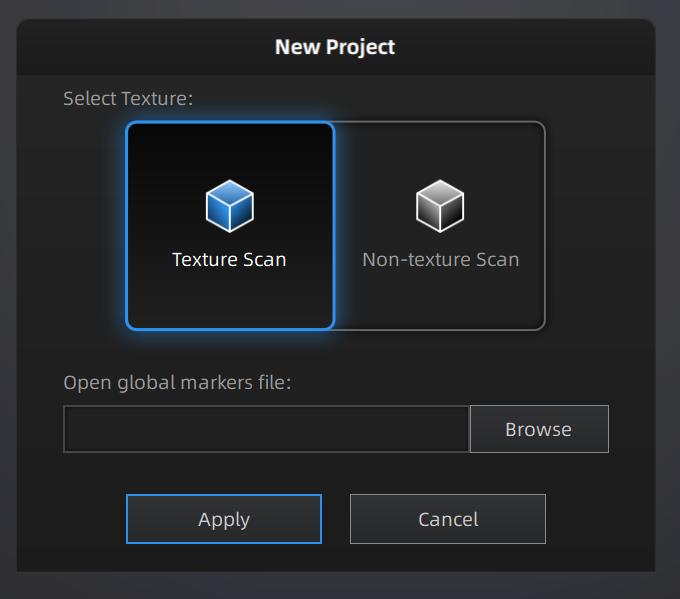
2. Create a project and save your project to the folder ‘User Scans’. Title the folder with your name and student number. When creating your project, you will be asked to select texture or non-texture scan. Texture is colour data.
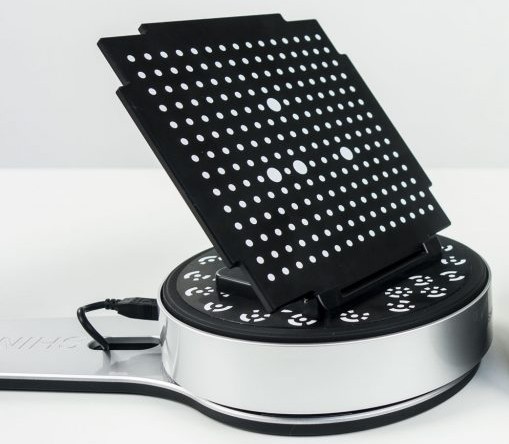
3. Click on calibration at the top of screen. Remove the calibration board from its velvet case and place the board on its stand and onto the turntable. The stand should be leaned back as far as possible to ensure that all of the dots on the board are visible to the scanner.
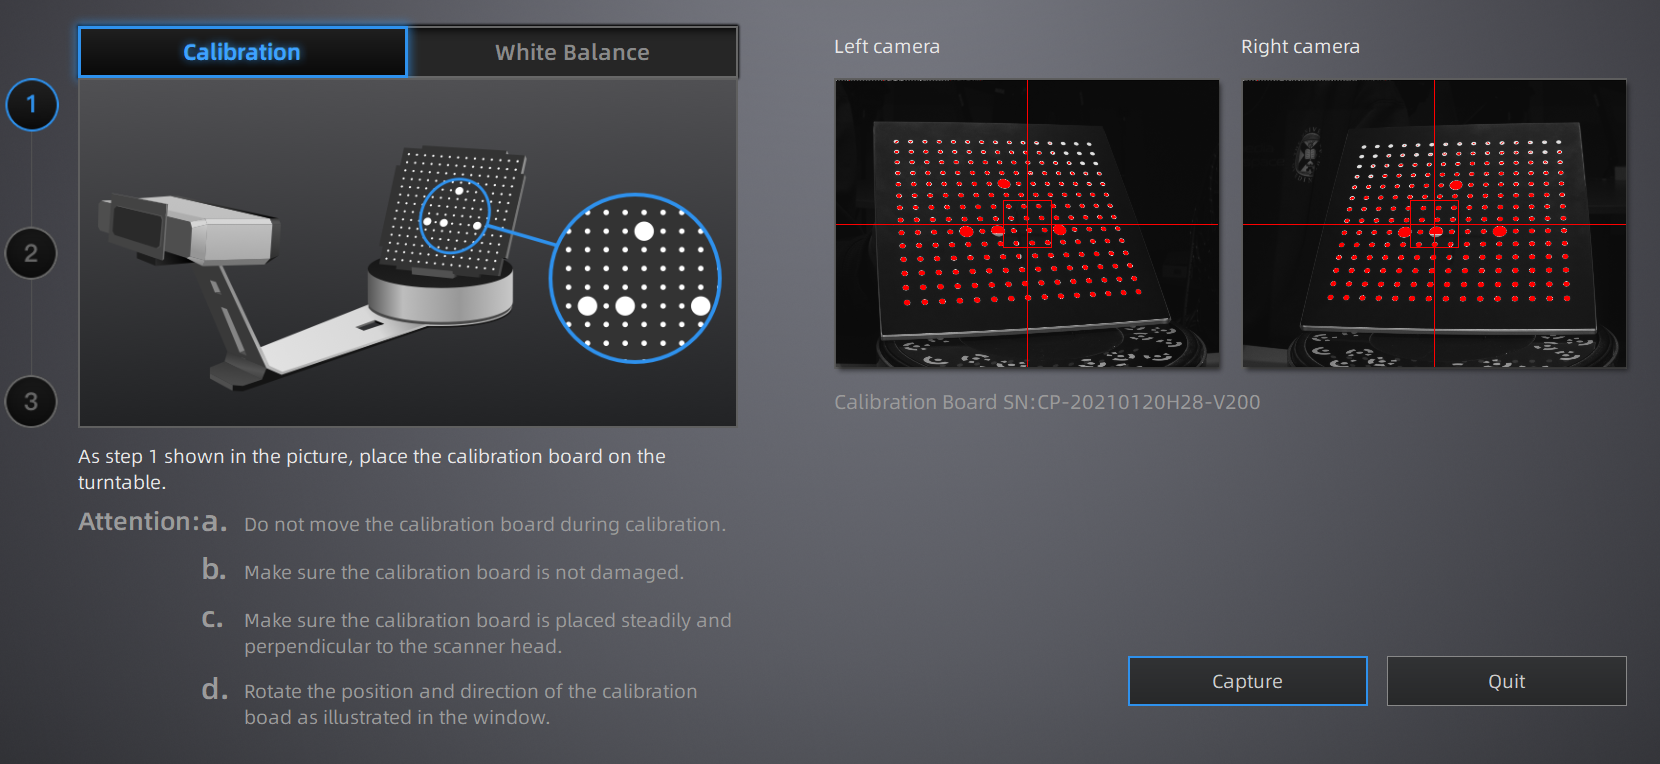
4. Follow the onscreen instructions for calibration, ensuring the orientation of the board matches the graphic. You will be scanning the calibration board at multiple orientations. Calibrate the white balance using the opposite side of board.
Setting up and taking a first scan.
To set up your scan there are a variety of different settings to adjust in order to get the best result.
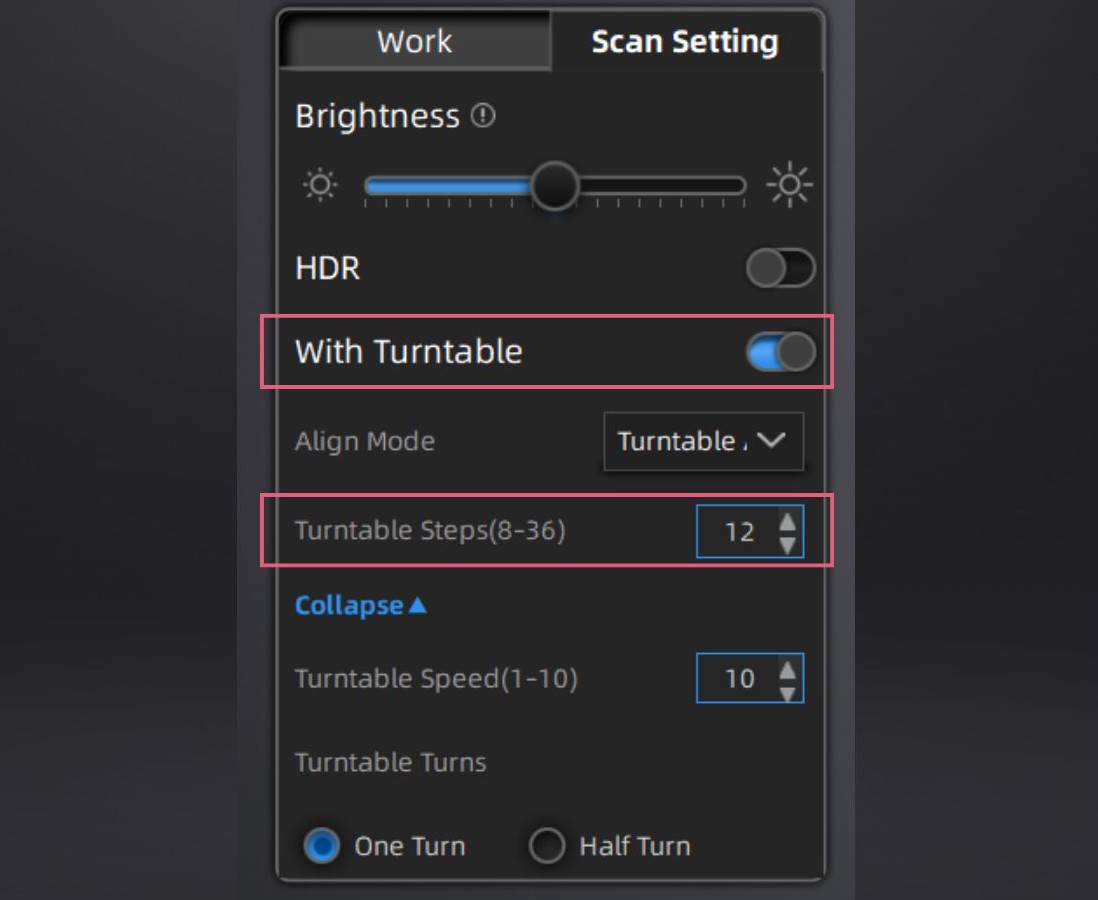
5. When using the EinScan-SP, you will always be using the turntable. Ensure 'with turntable' is turned on and set the number of steps to between 12 and 20. The number of steps is the amount of steps the turntable takes to rotate 360 degrees. Using more than 20 steps will take a very long time and create a very large file.
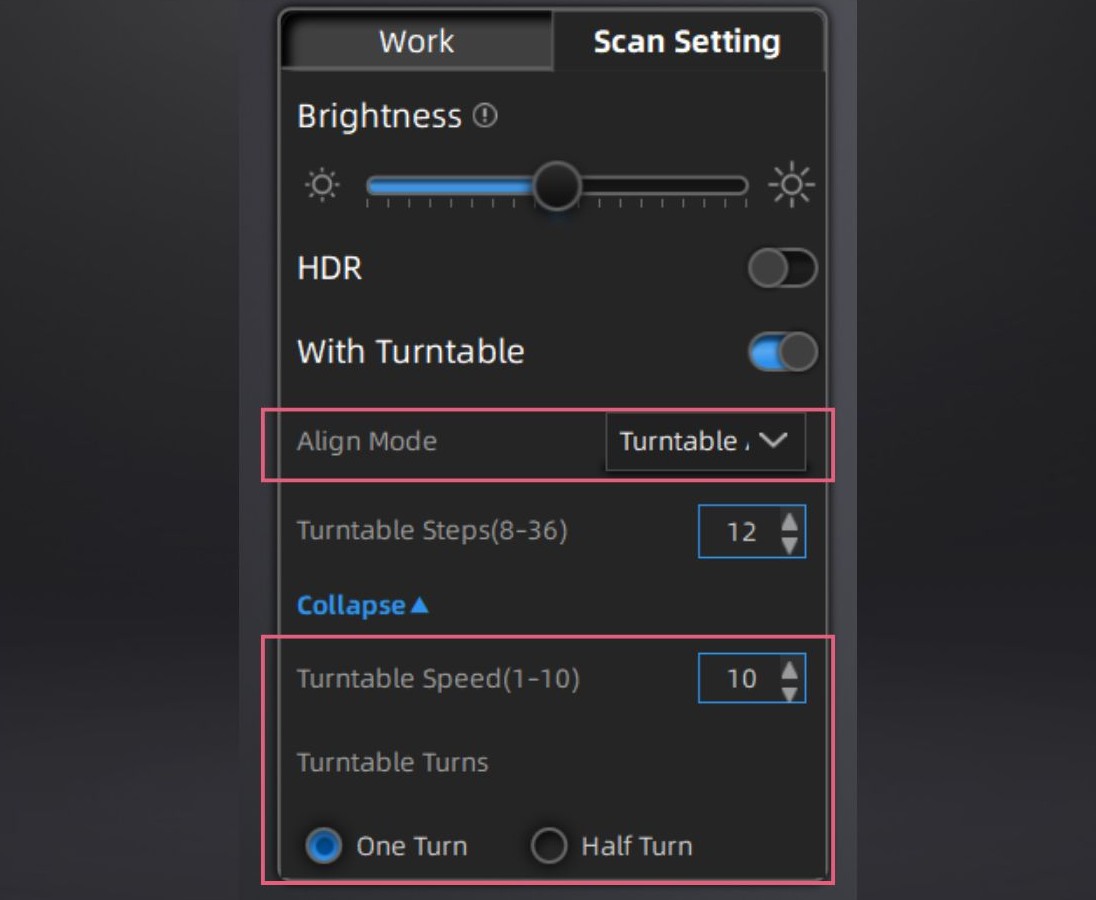
6. Set the turntable speed to 10 (maximum), turntable turns to ‘one turn’ and tracking to 'turntable align'. If you are scanning an unstable object, you can reduce the turntable speed.

7. Adjust the brightness until there are some red dots on the object. If there is no red on the object, the scanner cannot see it. If the whole object is red, it is overexposed. The HDR (high dynamic range) function helps to scan high contrasted objects. When this function is on, the brightness cannot be changed anymore.

8. Click start scan. Do not move the object or change any settings during the scanning process.
Cleaning up, taking multiple scans and aligning.
It is likely you will need to take multiple scans in order to get a successful final model.
9. After your scan has finished, you may want to delete some points to clean up the scan. To delete points, click the left mouse button by holding shift, select the area you would like to delete, and hit delete. Sometimes the front of the turntable is captured in the scan and needs deleting.
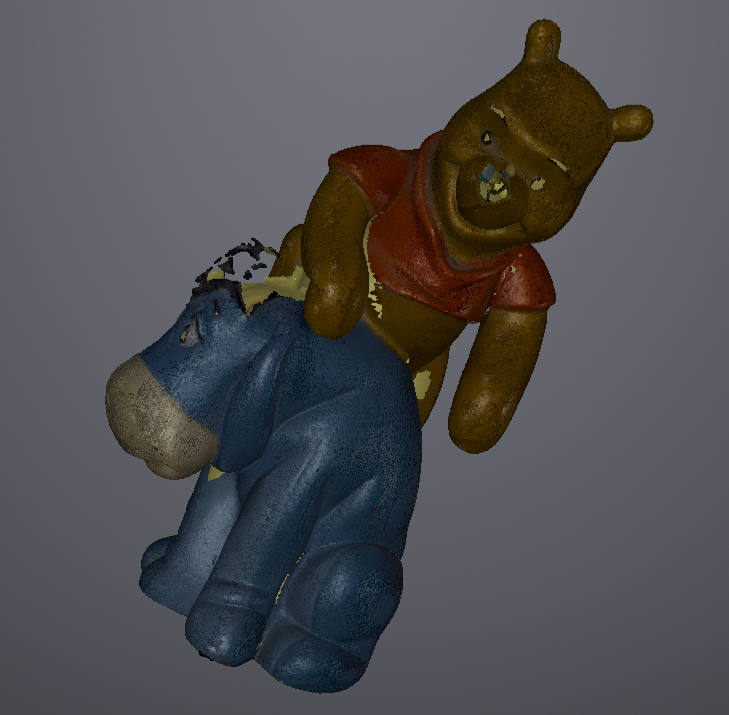
10. Rotate the physical object and take a second scan by clicking 'start scan' again. Depending on your object, you may need to adjust the brightness in order to capture more features of the object. There is no limit to the number of scans you can do, if your point cloud has gaps, take another scan.
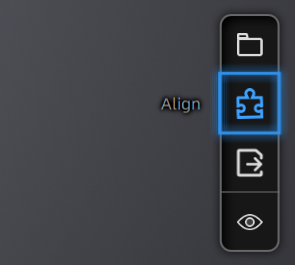
11. The software will automatically align multiple scans but you can click the align button (puzzle piece) to access manual aligning.
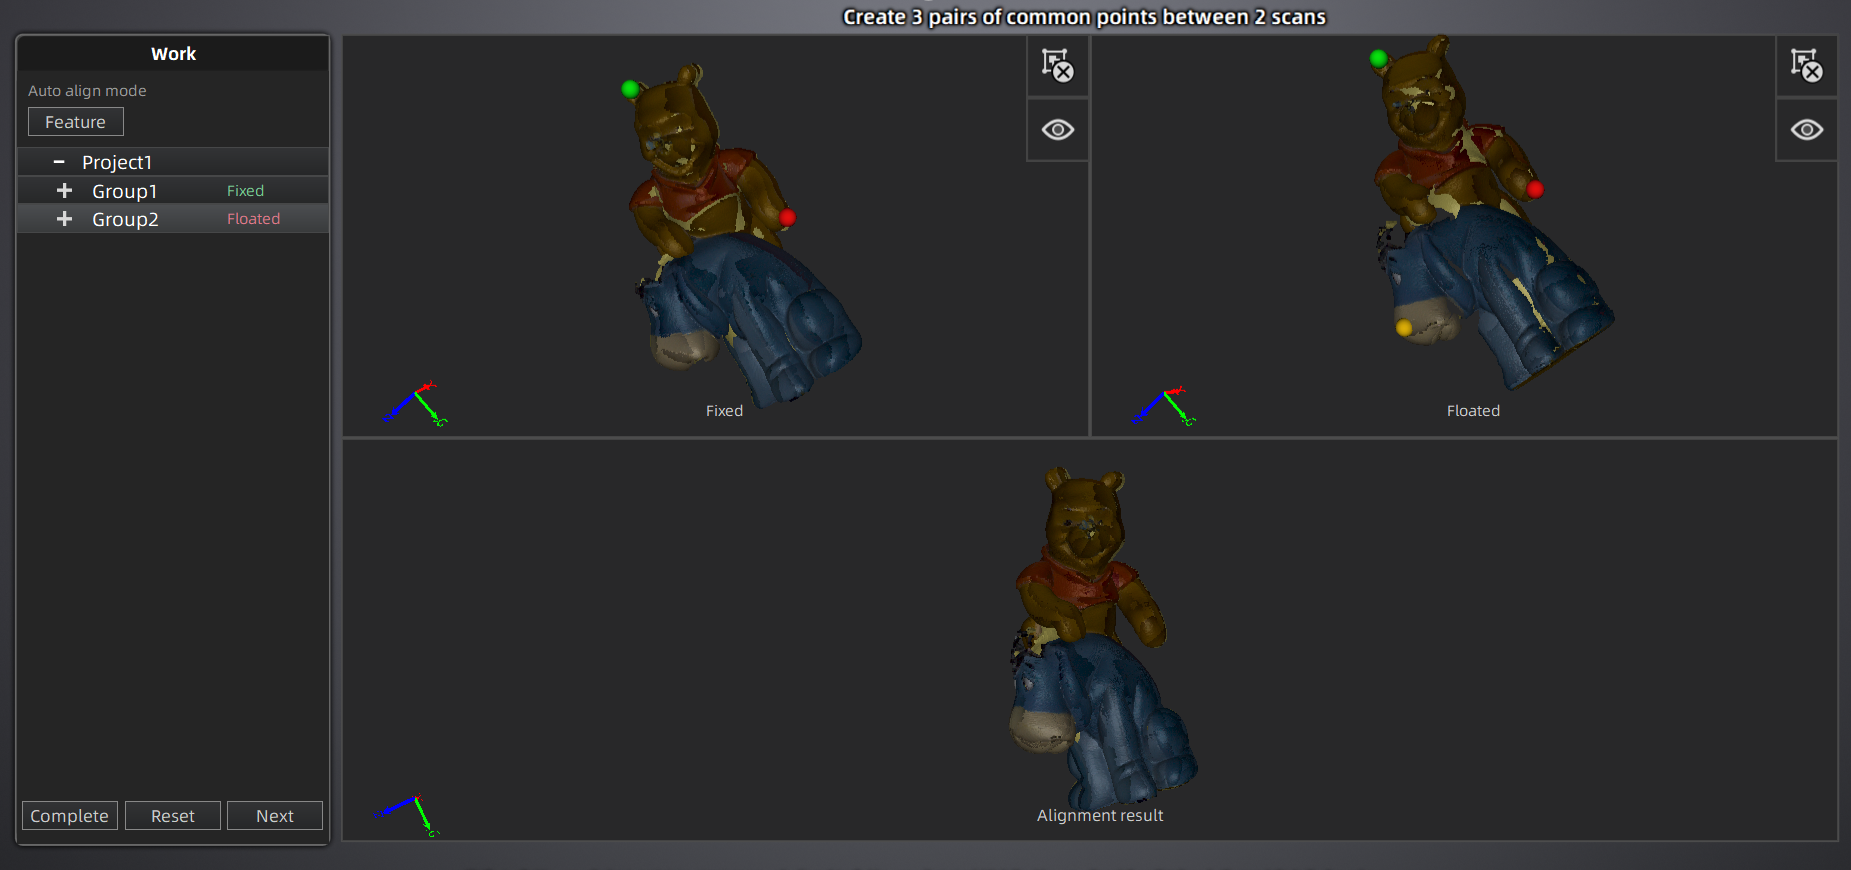
12. To manually align, drag 2 scans into the 2 windows and with both scans orientated the same way, hold shift, click the same 3 spots in both scans. Spread out over the whole scan. You will see the alignment results in the bottom window. Click next and then complete to save the alignment. This is helpful if you have an object that looks very similar in all orientations.
Meshing your model.
If you are looking to make an STL file from your 3D scan, the easier way is to mesh it inside the EinScan-SP software.
Meshing is the process of drawing polygons between all of the points captured by the scanner to create a model.

13. Click ‘Global Optimization’ and ‘Mesh Model’.

14. Select whether you want to create a watertight or unwatertight model. For 3D printing, select a watertight model as this will fill in all holes in the mesh to create a solid object.
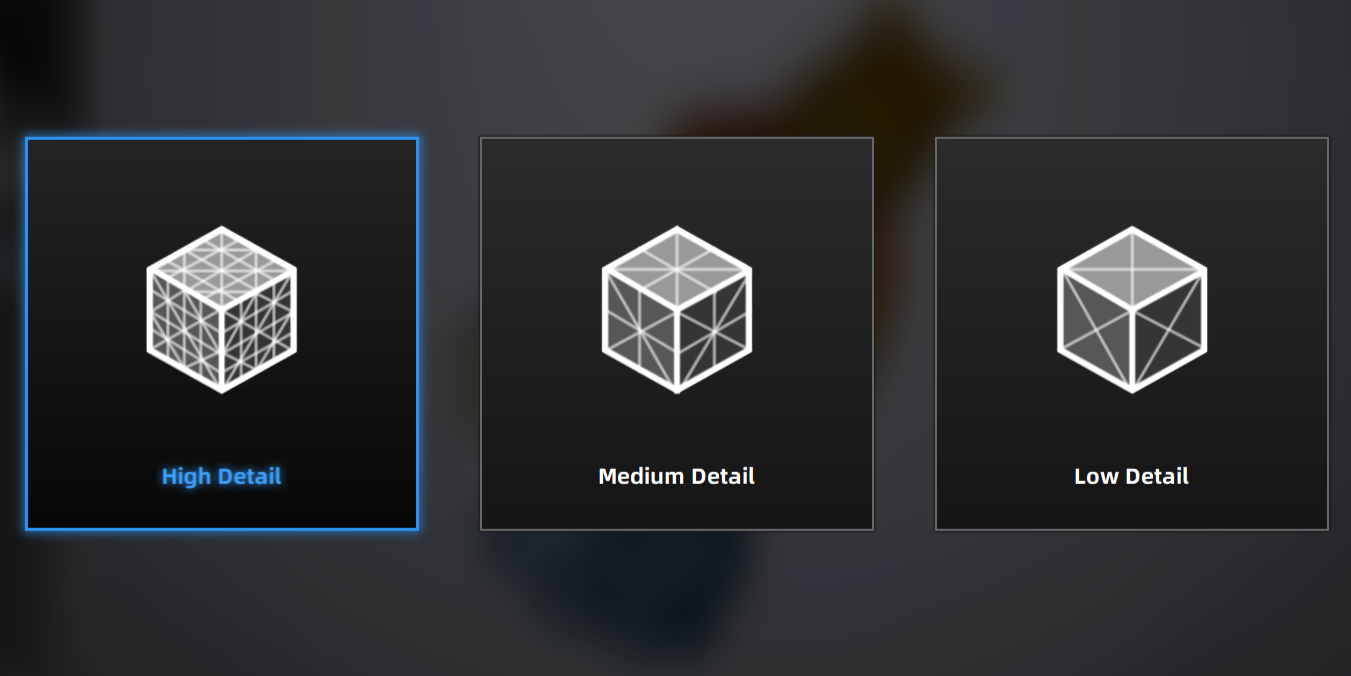
15. Select a detail level. We recommend medium detail to balance speed of processing, file size and resolution, however, this will depend on what you are scanning and your application.
16. The software will now generate your model, this may take a few minutes. If you are not happy with the result, you can go backwards and adjust your parameters.
Post-processing of your mesh and saving your scans.
After meshing your model, you are still able to make small alterations, as well as saving your final product.
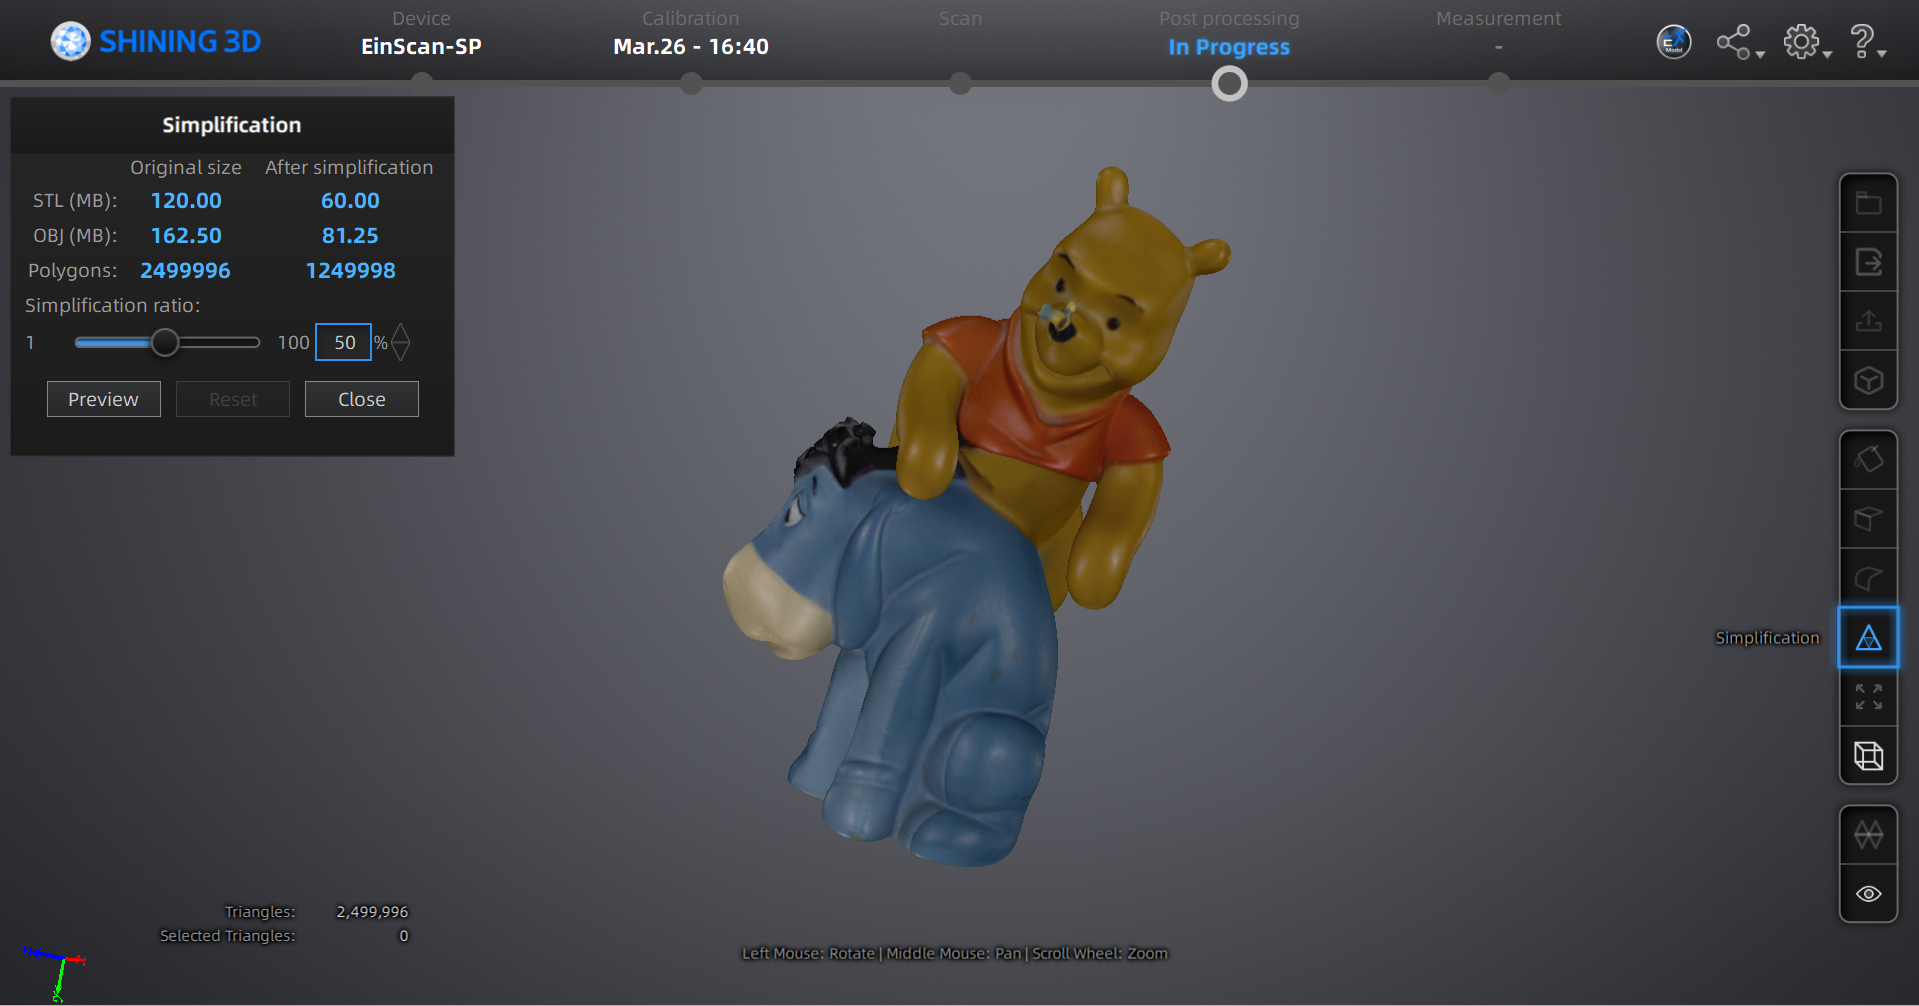
17. If you want to reduce your file size, you can simplify your model by reducing the number of polygons.

18. If you selected unwatertight model during the meshing process, you can retrospectively fill in holes in your mesh. This can be helpful if you only want some of the holes filled. Hole filling will be greyed out if you chose a watertight mesh.

19. On measurement panel, click measurement tool. Select two points to see distance between them. You can also see the surface area and volume. Useful to take measurements you wouldn’t be able to on the physical object.

20. Click export scan and save mesh locally. Select file types asc (whole scan), stl (form data) and obj (form and colour data). When saving as an obj file, a jpg file will also be generated. This must remain with the obj file to preserve the colour data.