
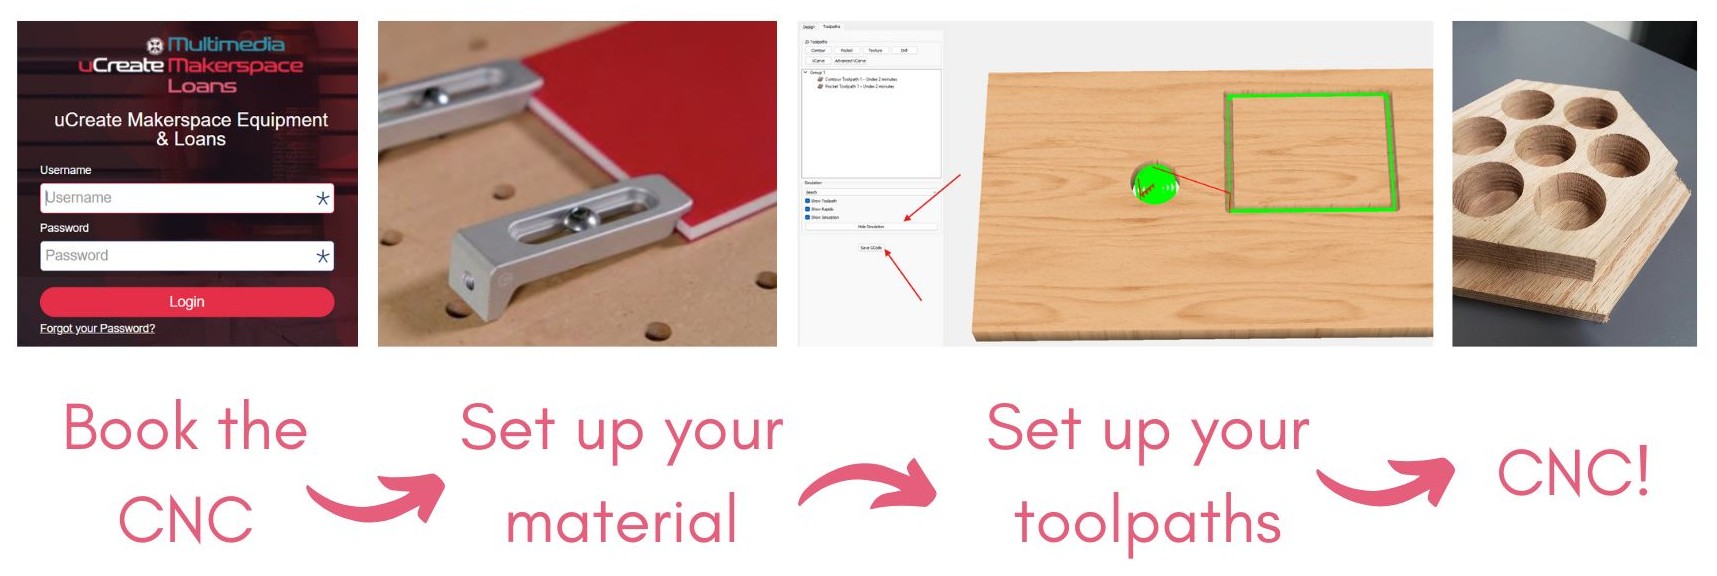
This workflow is the same that is followed in the CNC training and should be followed every time you use the CNC.
Please ask a member of staff if you are unsure about any of the steps.
What are Carbide Create and Carbide Motion?
Carbide Create is simple, intuitive software developed specifically for the Nomad 3. It is rather basic in functionality, being limited to 2.5D operations, but can serve as a good starting point to machine small projects or learn the basics of CNC operations.
Carbide Motion is the control software for the Nomad 3.
Carbide Create v6 and Carbide Motion are installed on the computer to the left of the CNC machine in the uCreate Makerspace.

Before your booking.

1. Complete the makerspace induction and compulsory CNC training.
In order to use the laser cutter, you must have completed a makerspace induction and the compulsory CNC training.
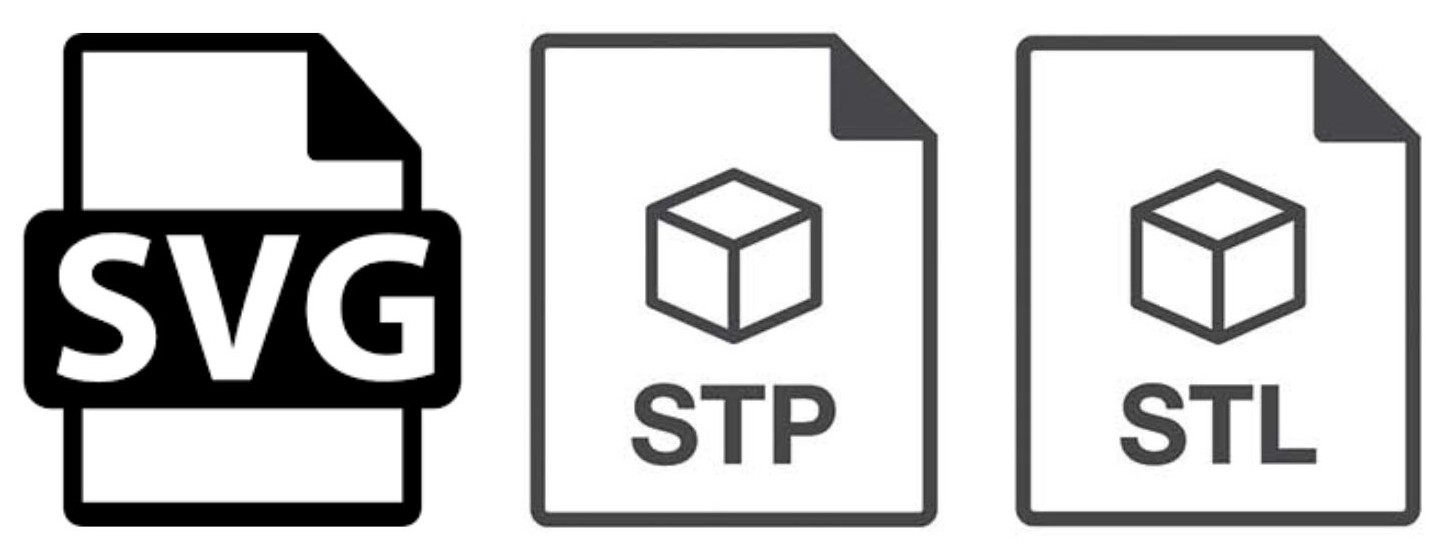
2. Prepare your design.
Start with a 2D vector file, such as an SVG, for 2.5D cutting.
For 3D cutting, you will need a 3D model (e.g., .STL, .STEP).

3. Make a CNC booking.
In order to use the CNC, you must have a booking. We advise booking a longer session than you think you require. It can be helpful to load your file into Carbide Create before making a booking to find out how long your mill will take.
Setting up stock in the NOMAD CNC and Carbide Create v6.

4. Open Carbide Create v6.
Carbide Create v6 and Carbide Motion are installed on the computer to the left of the CNC machine in the uCreate Makerspace.
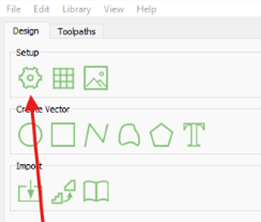
5. Click on the gear icon to set up the stock.
Measure the stock using a ruler and/or a set of calipers and define it in the ‘job setup’ menu.
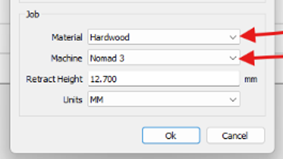
6. Ensure that the material chosen is the same as the stock that is placed in the machine, and that the machine selected is the Nomad 3, with units in mm.
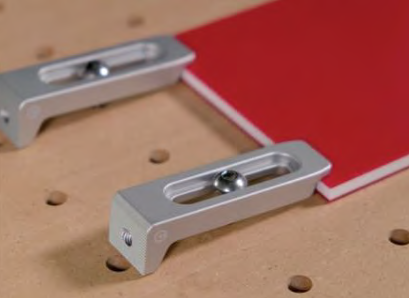
7. Secure the stock into the NOMAD CNC.
Ensuring that the stock is fastened is key as it will prevent cut failures and the stock coming loose from the cut bed. If possible, bolt the stock to the bed, or use fiberglass reinforced double-sided tape to hold it securely. If required, construct a jig to hold the stock securely.
Setting up toolpaths in Carbide Create v6.
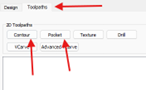
8. Import your SVG file into Carbide Create v6, click on a shape and navigate to the 'toolpath' tab.
Here, you will find a number of options for toolpaths. The most commonly used and important ones are the contour and pocketing toolpaths.
Contour toolpaths.
Typically follow a specific outline or profile.
Remove material along the outer or inner edge.

Pocketing toolpaths.
Remove material from an enclosed area or "pocket."
Employ a series of passes within the boundary of the pocket.
Commonly used for roughing operations, creating cavities, or clearing out larger areas.
9. Set up your toolpaths for each of your cuts.
Selecting endmills and generating toolpaths in Carbide Create v6.
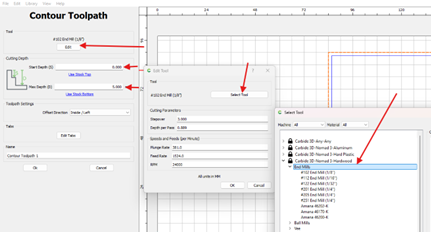
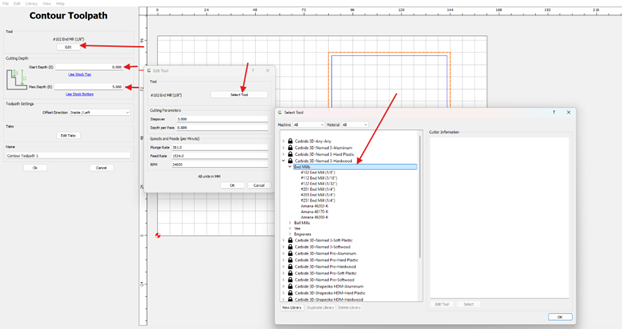
10. Select your endmills in Carbide Create v6 for each operation.
Carbide Create has profiles built in for the Nomad endmills, so you will not need to fill in the feeds and speeds manually. Be careful to select the right material. If you are unsure whether your piece of wood is a softwood or hardwood, Google it to check.
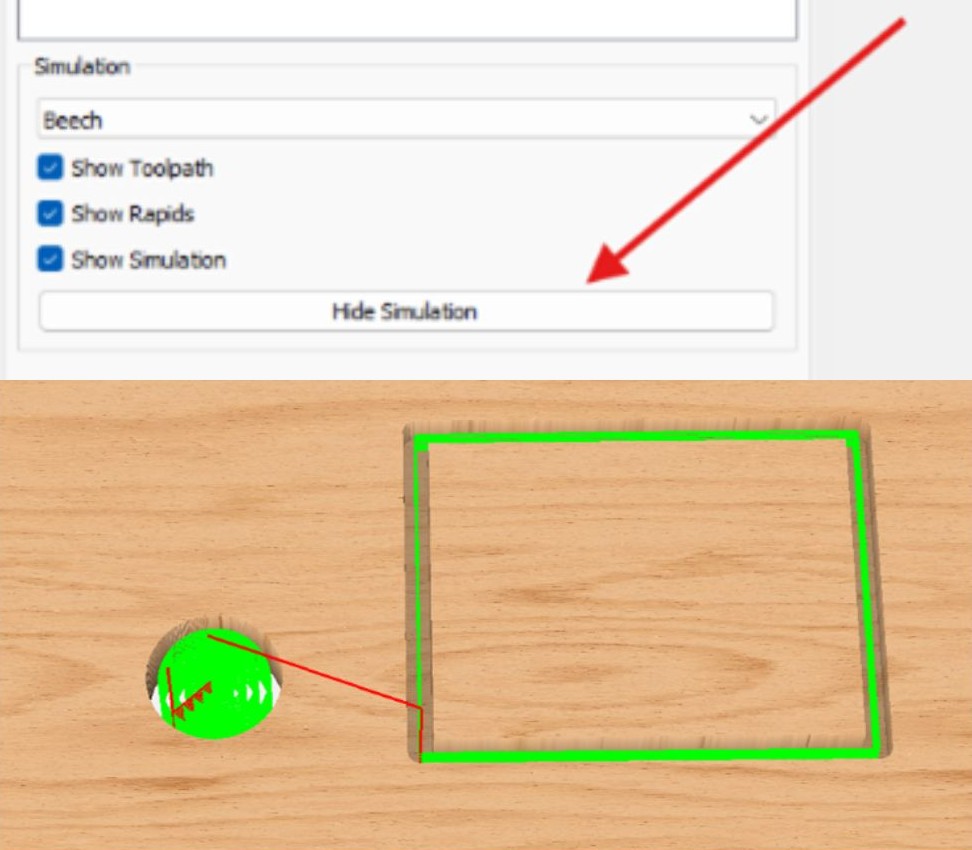
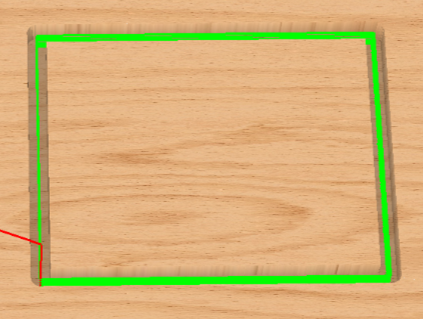
11. Check the cutting simulation created by Carbide Create v6.
Check the simulation to ensure that the cuts are as you expect them to appear.

12. Save the .nc file to be loaded onto the NOMAD 3.
The button for saving as a .nc file is labelled, Save GCode.
Starting your cut (using Carbide Motion).
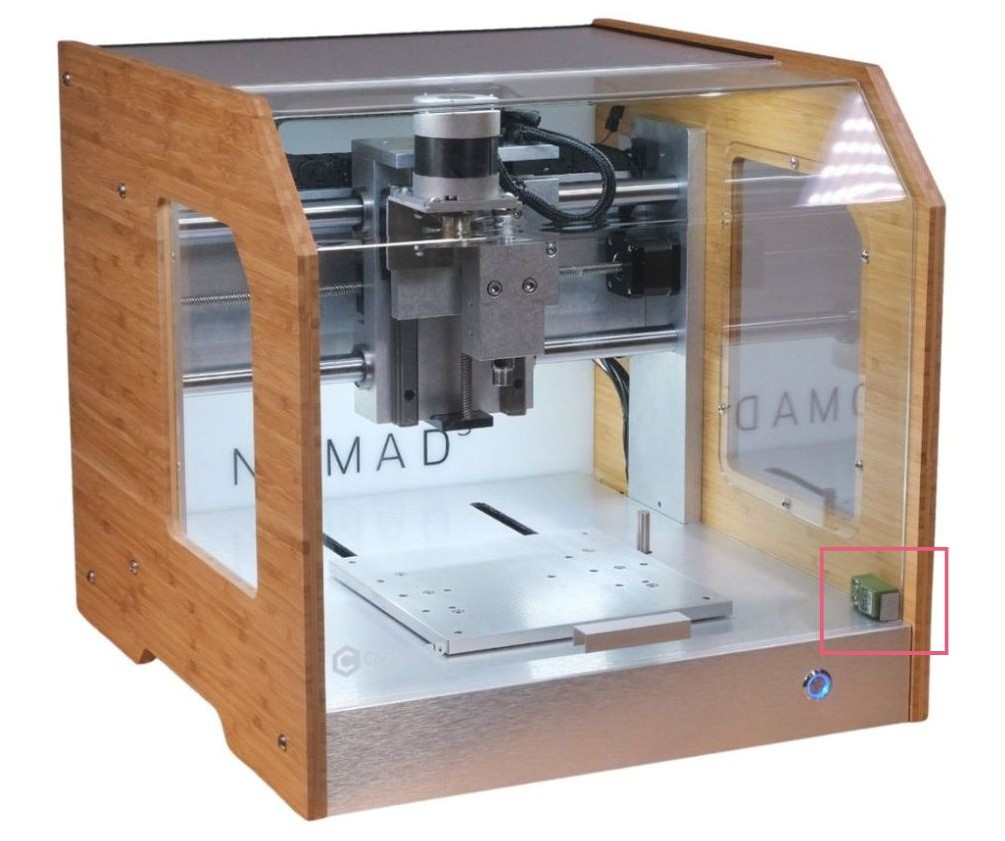
13. Ensure that the USB cable is plugged in and the door of the machine is shut, with the magnetic interlock engaged.
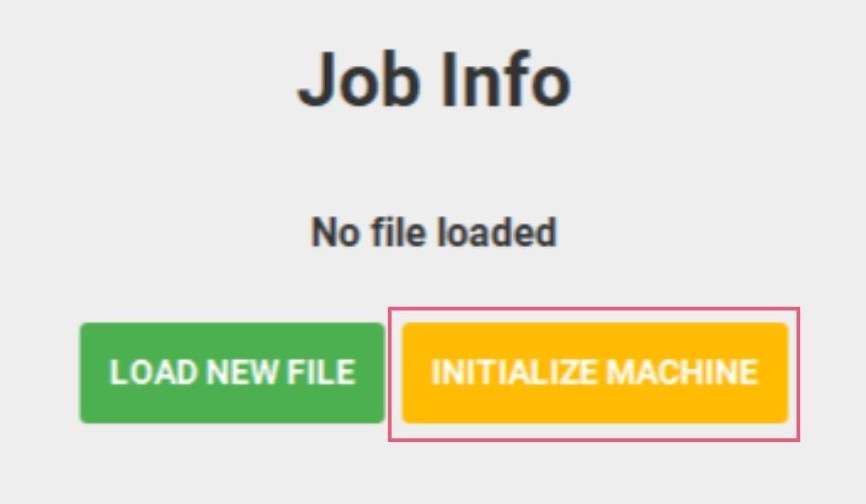
14. Connect to cutter and initialize the machine in Carbide Motion.
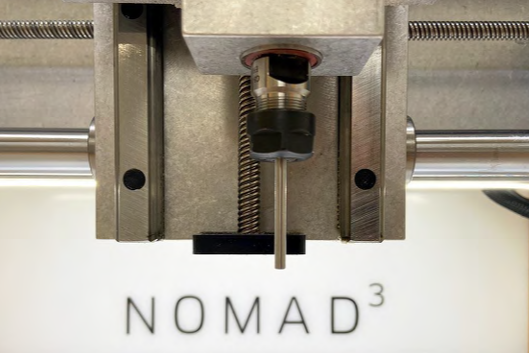
15. Load a steel pin on the collet (found in the box alongside the endmills), and install the pin into the collet until it is hand-tight.
Now is a good time to check that the stock material is securely fastened to the cutting bed.
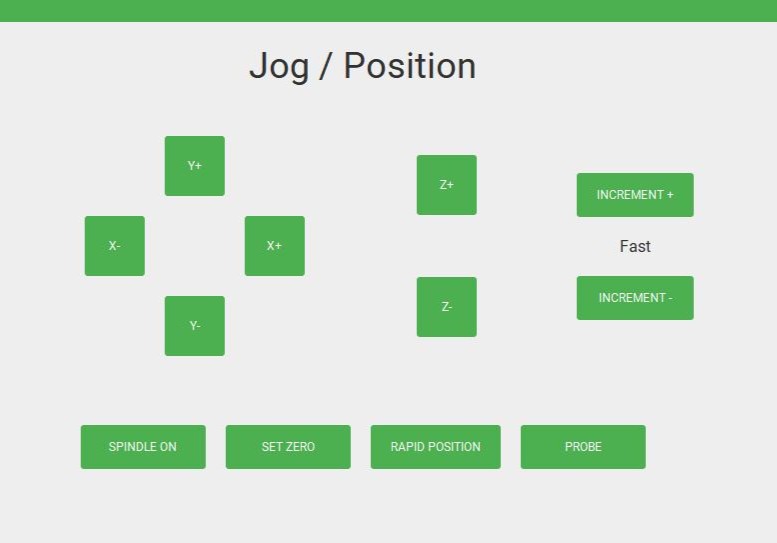
16. Jog the tool to define the zero position.
You can do so manually, by moving the pin until it is just slightly touching the lower-left corner of the stock (you should be able to slide a piece of paper underneath the pin but feel some slight resistance).
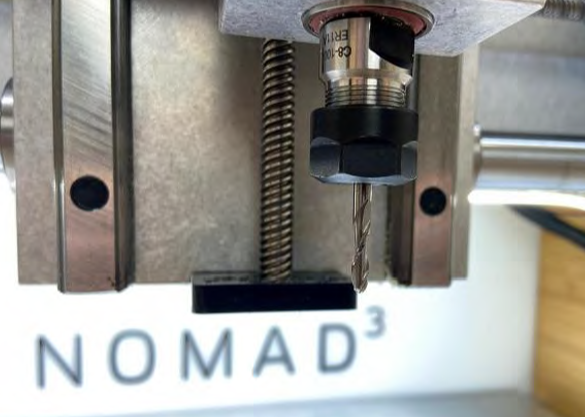
17. Load your first endmill in the CNC.
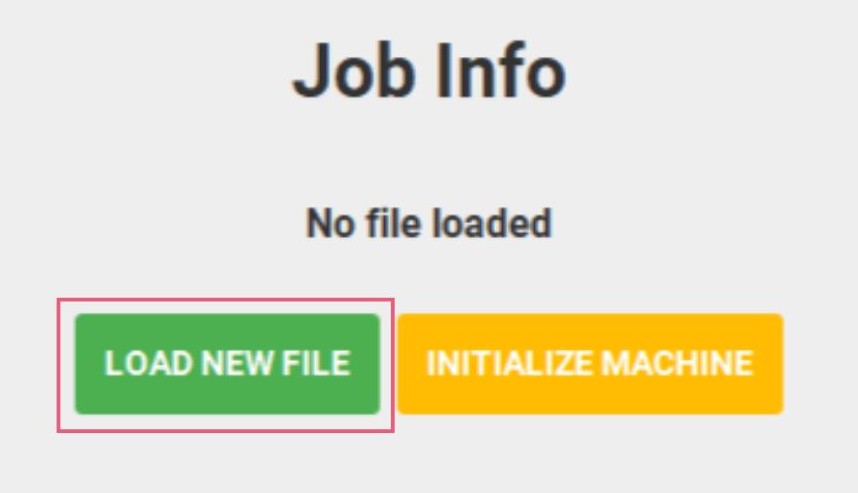
18. Load the .nc file into Carbide Motion.
Now is a good time to check the the time the cut takes is appropriate to the cut you are doing.
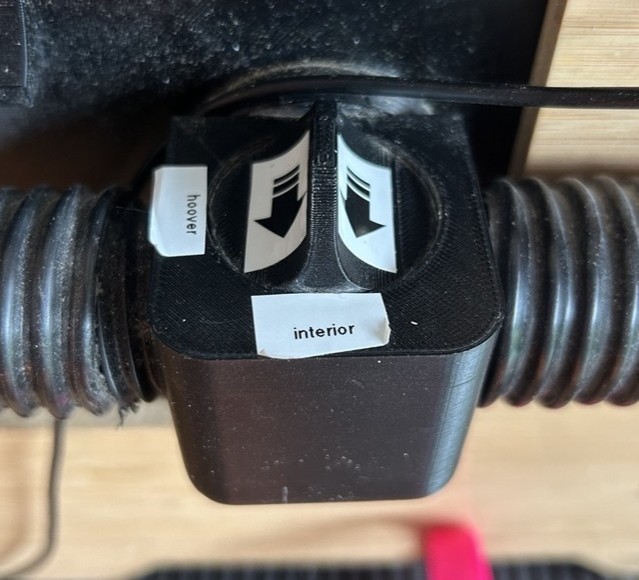
19. Ensure the vacuum cleaner is turned on and the valve is turned to the interior of the machine.
20. Begin the cut.
Ensure that you keep an eye on the cut and periodically pause the cut to remove sawdust/chips/swarf. Pause and change the endmill as required.
Never open the door of the machine while it is running.
Once your cut has finished.
After your cut has finished, make sure to vacuum out any remaining debris from the CNC so it is clean and ready for use by the next user.
There is a wasteboard attached to the CNC bed. Let a member of uCreate staff know if this is damaged and needs replacing.